When I was a kid, I remember making a pinhole camera out of an oatmeal canister. The ‘film’ was half a sheet of photo paper- torn, not cut and my picture was of a tractor.
So when making pinhole cameras was mentioned at the recent photography class I took at Quelab, oatmeal came to mind. As it turned out, the cameras we made were a tad bit more elaborate (and also much, much cooler).

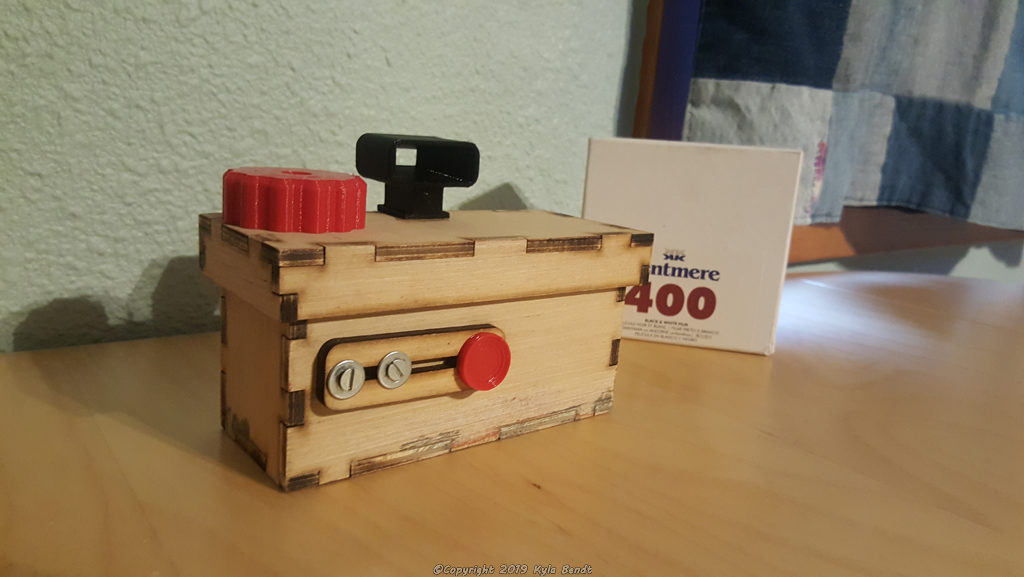
I got a kit made by Ethan of Cameradactyl (who also happens to be a Quelab member and was one of the teachers for the class). The kit included wood pieces cut on the laser cutter and a few 3-D printed plastic pieces.
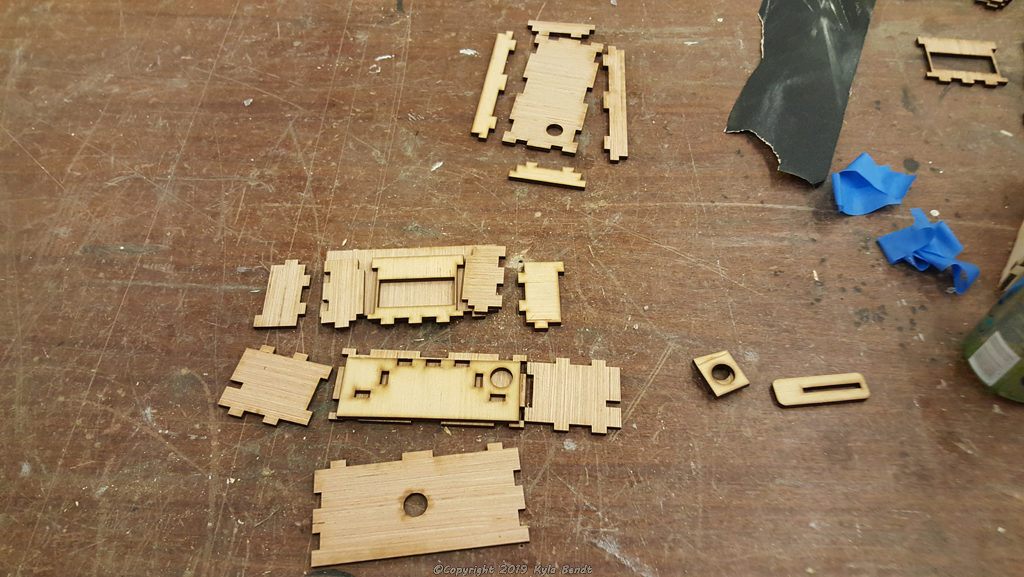
This is not the first camera Ethan has designed and the attention to detail was clear. All of the pieces fit together perfectly. The first step was using wood glue to stick all of the wood pieces together.
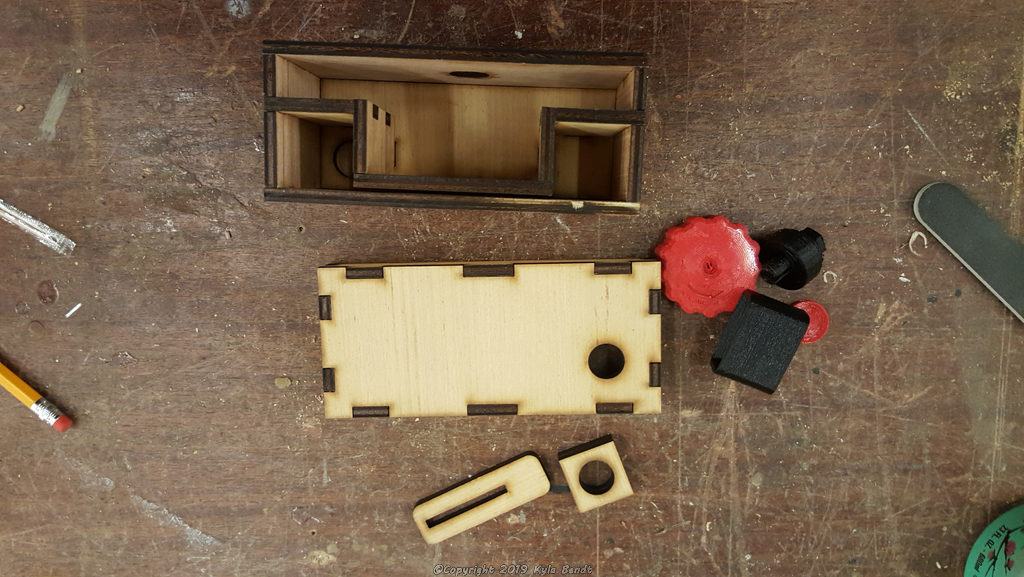
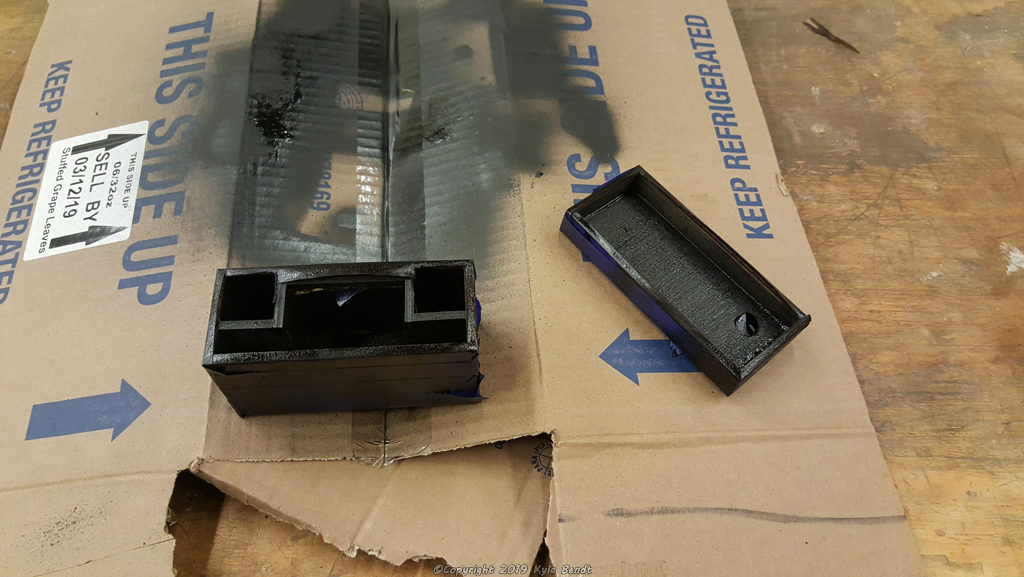
We went in the darkroom to slurp up more knowledge from Ethan on making prints while the glue dried. Then we returned to our projects to spray paint the inside black. The black cuts down on the light that reflects around inside the camera and also serves to seal off the joints where the wood pieces meet so no extra light seeps in.
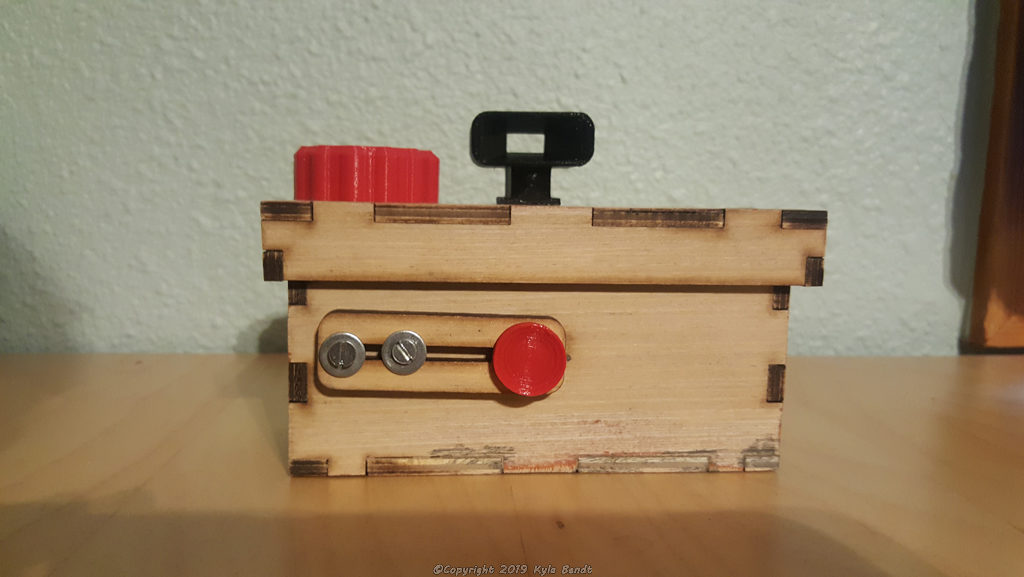
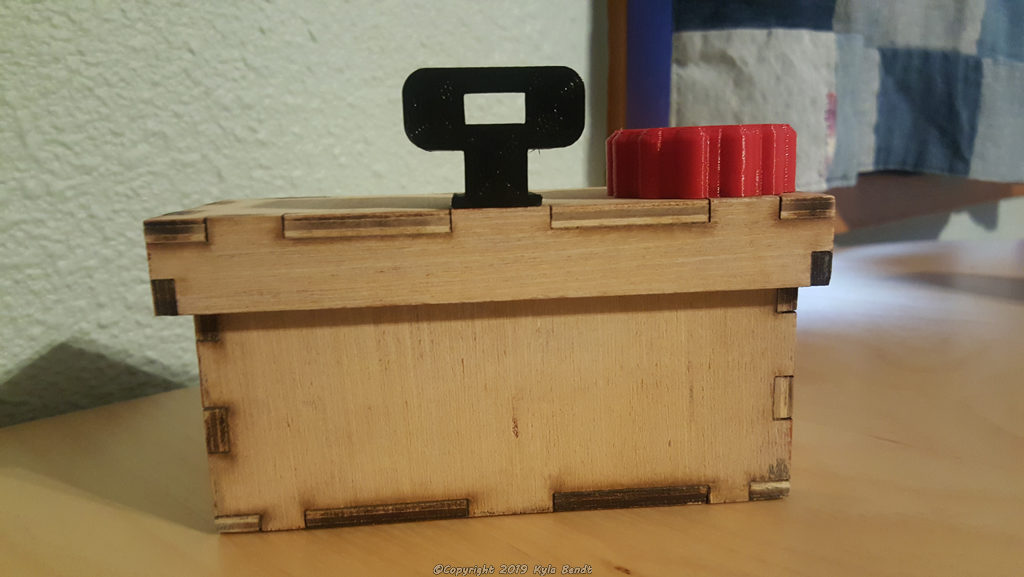
Then I sanded it all down. The final step was adding a plastic knob to advance the film, a viewfinder, the shutter and what else but the pinhole itself!
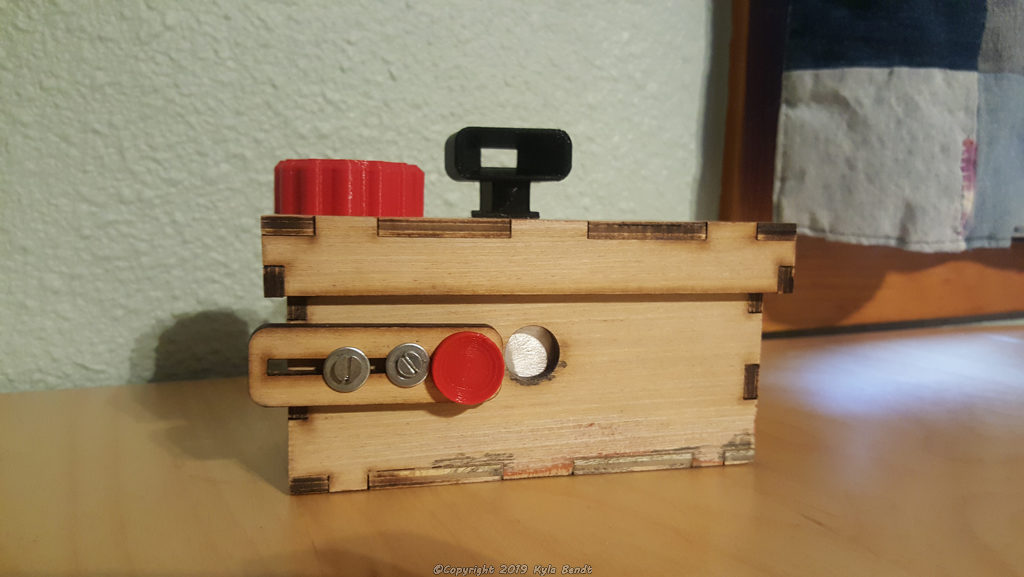

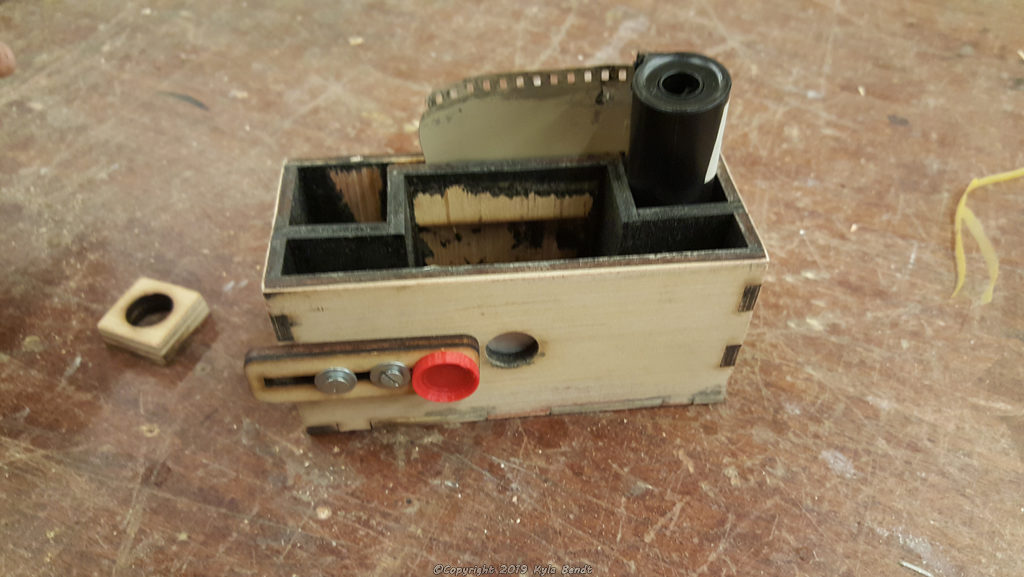
Ethan showed me how to load the film and I snapped a picture so I wouldn’t forget. For real use, a second film canister goes in the other side and the film is started in it. Then when the film is advanced, it goes from one canister to the next.
The entire design is super slick while also being elegant and simple. It was so much fun to put together and I love the way the end result looks. I can’t wait to try it out.