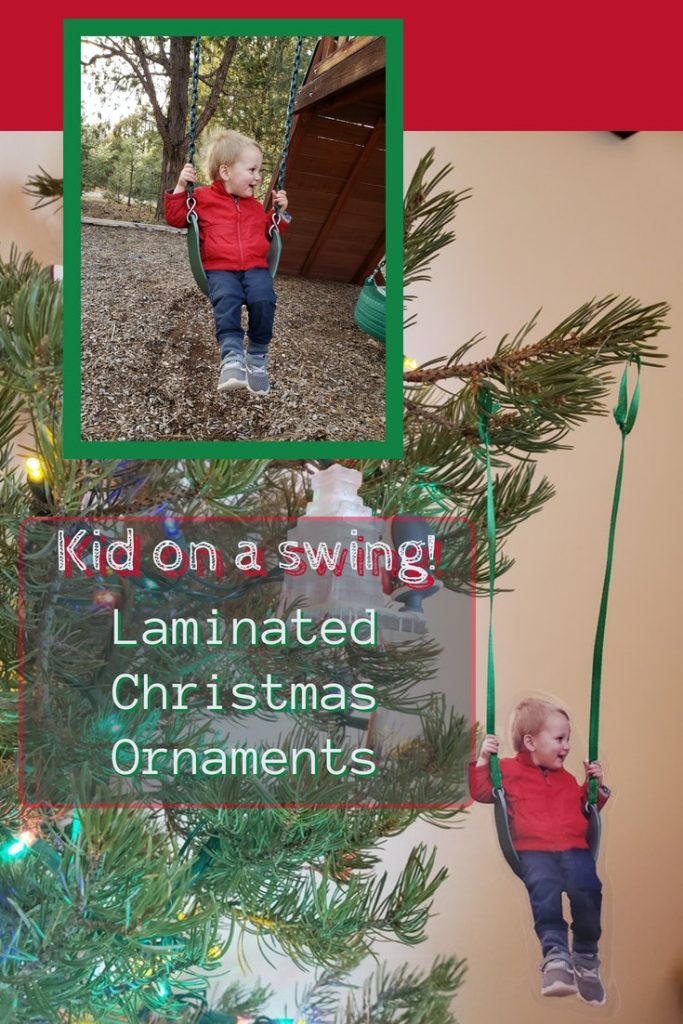
These cool ornaments impressed all of B’s relatives when we gave them as presents last year. Plus, I love the idea of still having two-year-old B swinging on my Christmas tree in 20 or 30 years.
This is a fun laminator project and slightly older kids could probably even help make them.
Yes, I know it is no where close to Christmas time right now but I thought this might be a good project to do for people that have extra time at home right now.
Looking for more laminator ideas? You might also like Laminator Projects: cool and unique things to make.
Supplies needed includes:
- A laminator – The budget models are super cheap on Amazon. You can get them starting at like $20. If you think you might really be into laminating though I’d recommend one like this with a wider input. I have a 9 inch one. Even though it works fine, I find it’s hard to feed everything in perfectly straight sometimes. I wish I had the extra room so I didn’t have to be so careful with things. The laminating sheets go a little past the thing you want to laminate so with a 8.5 inch paper there’s not much room to spare with a 9 inch input.
- Laminating sheets – I use these ones.
- A utility knife
- A cutting mat
- Ribbon or string to be the new ‘chain’ for the swing.
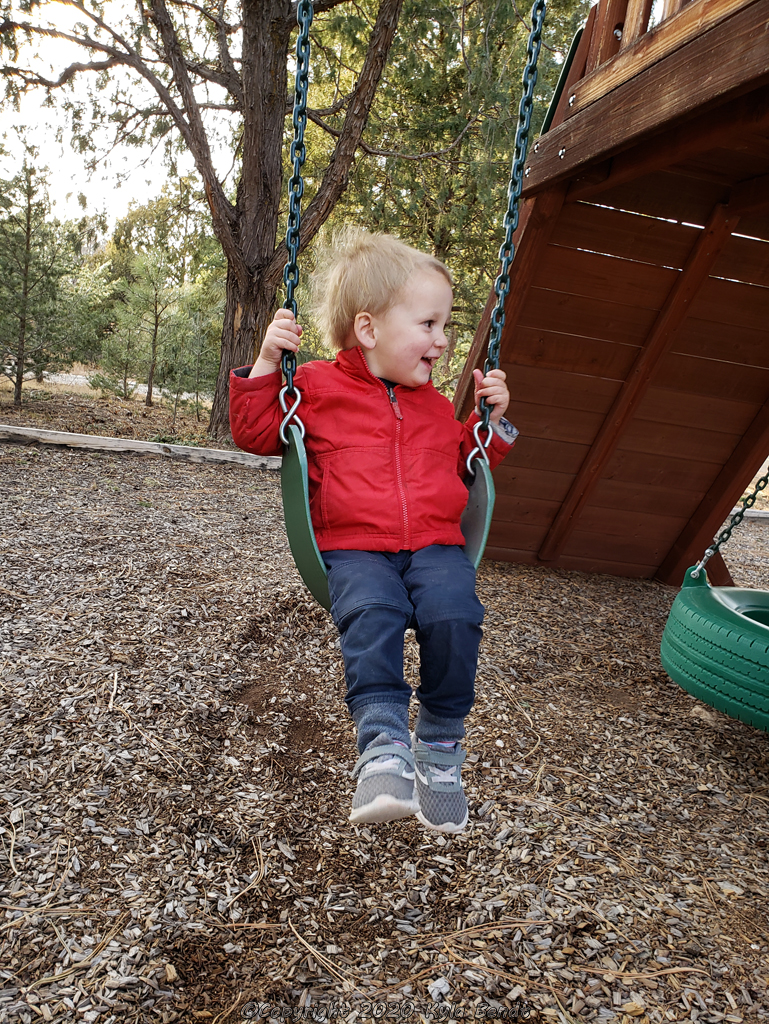
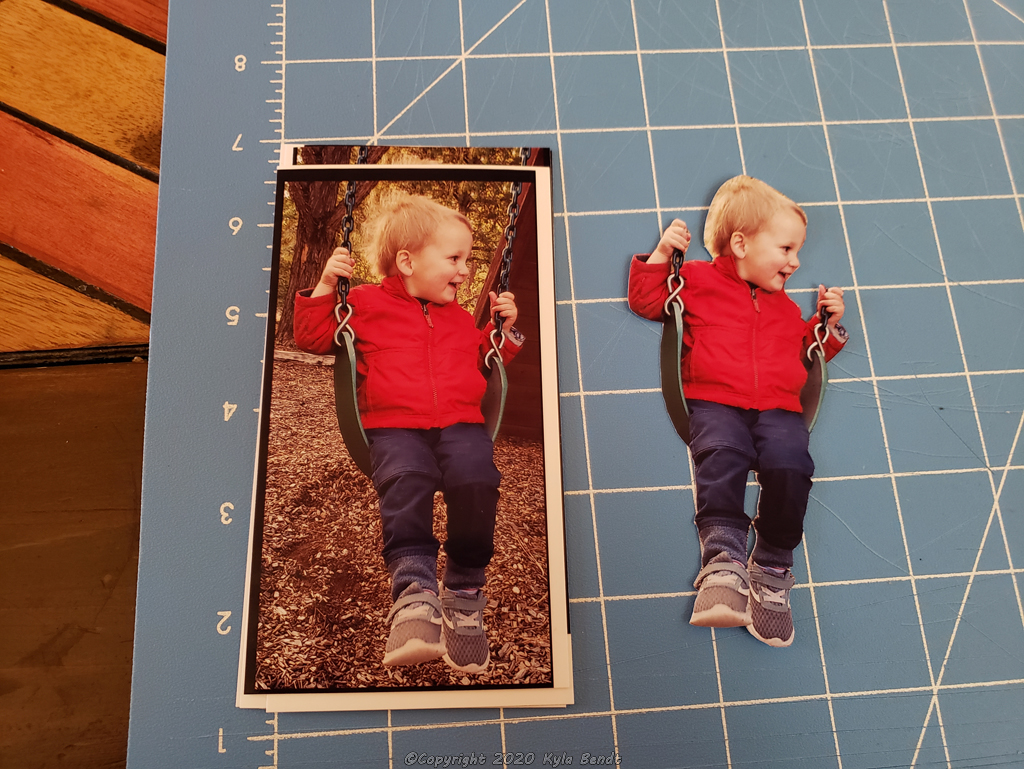
You’ll also need a picture of you child on a swing. The background doesn’t matter since we’ll be cutting it out anyway. For mine, I just printed these out on photo paper, but you could order prints at Walgreens, Walmart or another store. Here’s the one I used.
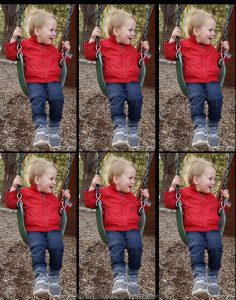
If you want to make multiples so you have some to give away, you’ll need a picture for each ornament. I decided to save on ink by cropping the images and putting them side-by-side.
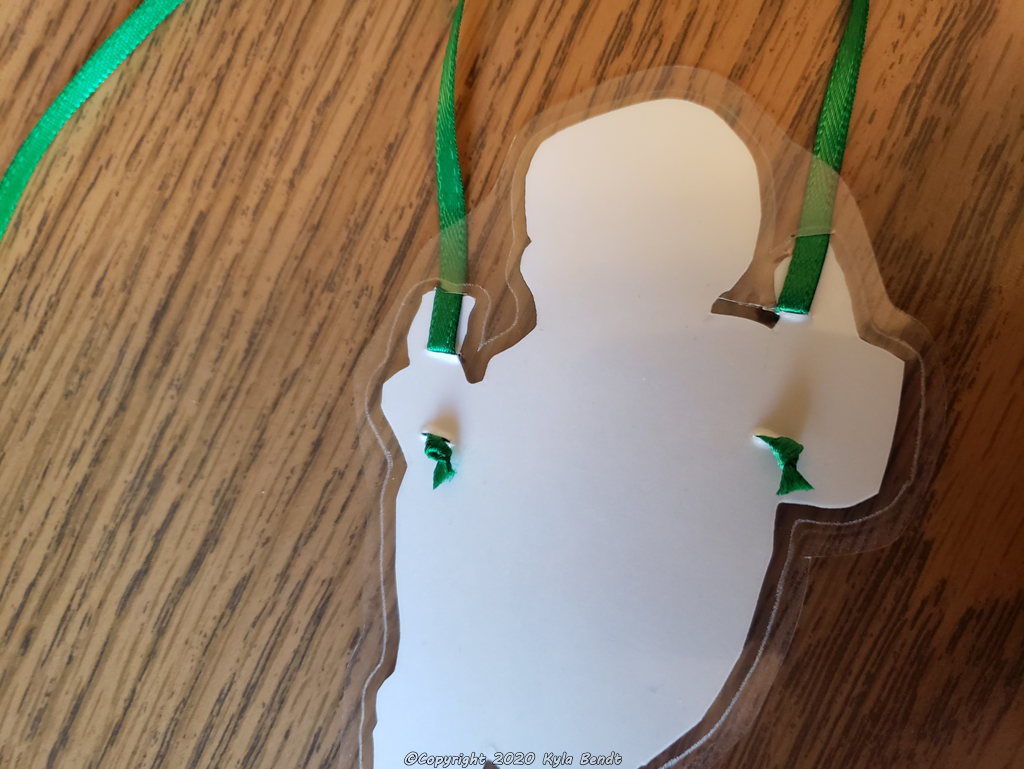
Then I carefully cut out each one with a utility knife. I cut the chain off above his hands because the ribbon will be the new ‘chain’.
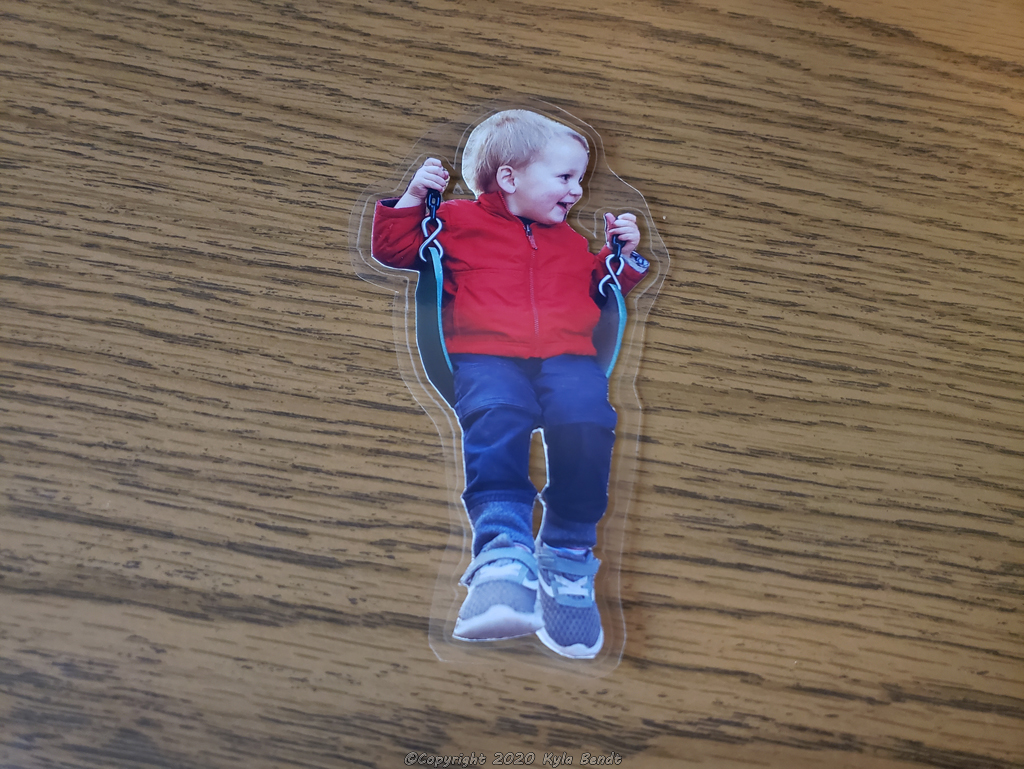
Once I had them all cut out, I laminated them. This serves to protect them forever and also to make them stronger for threading the ribbon through. I then cut around the image, leaving just a bit of the clear edge.
Next up was making some small slits for the ribbon to go through.
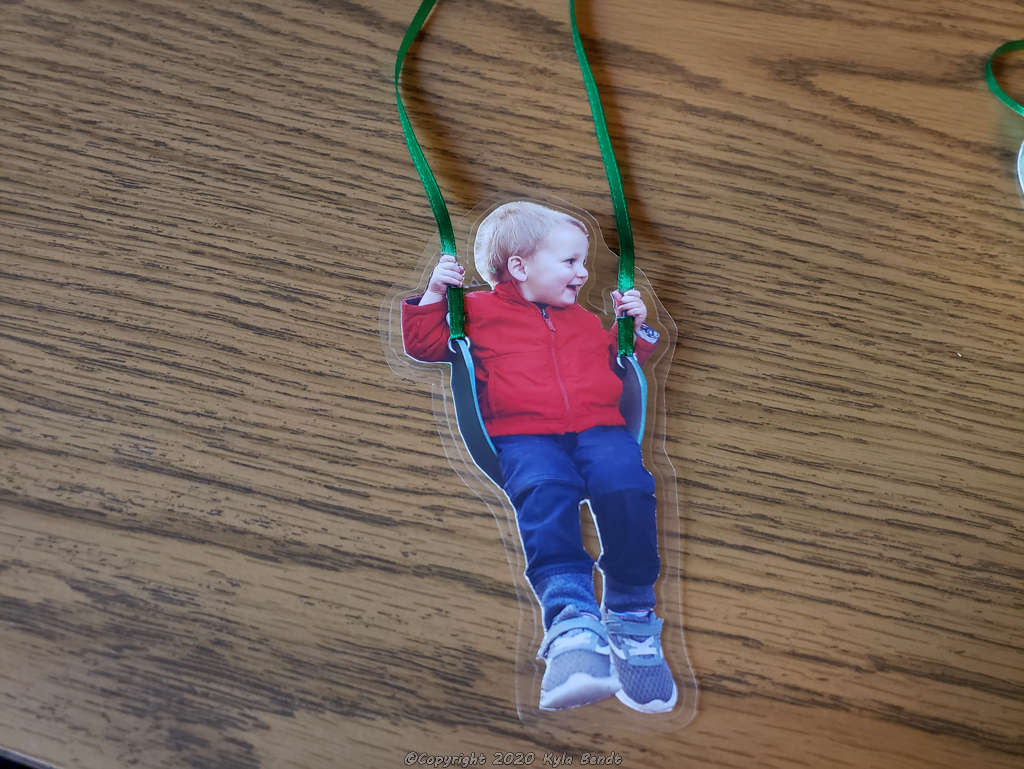
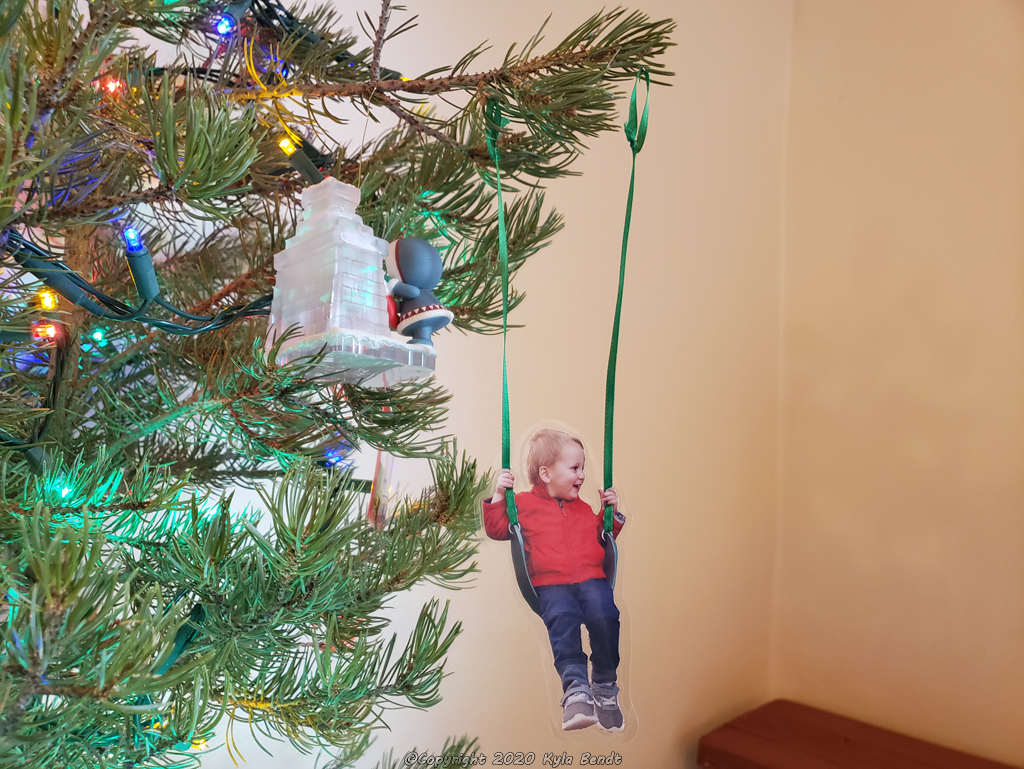
I wanted to make it look like he was holding onto the ribbon so it goes behind the ornament where his hands are.
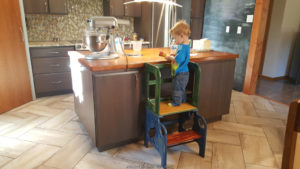
Then we had to get a tree to hang it on! (We picked one from our land that was too crowded and would have to be thinned out anyway.)

Here’s the final look.
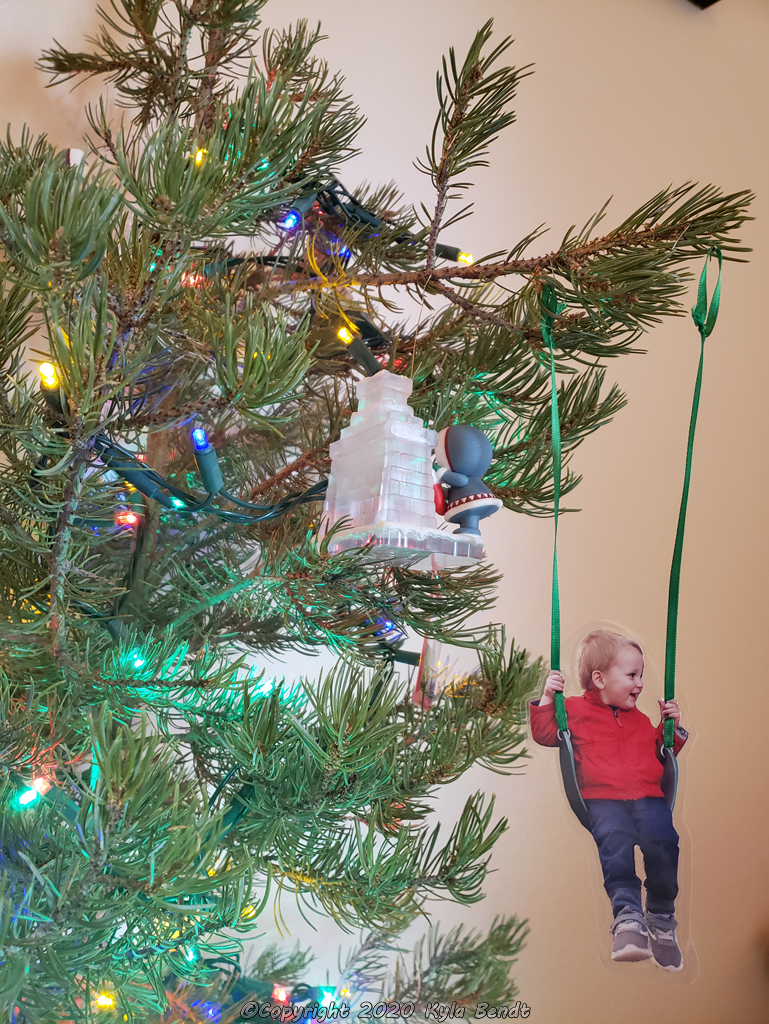
These were fun to make and I’m super pleased with how they turned out. Plus they made great gifts for the grandparents.
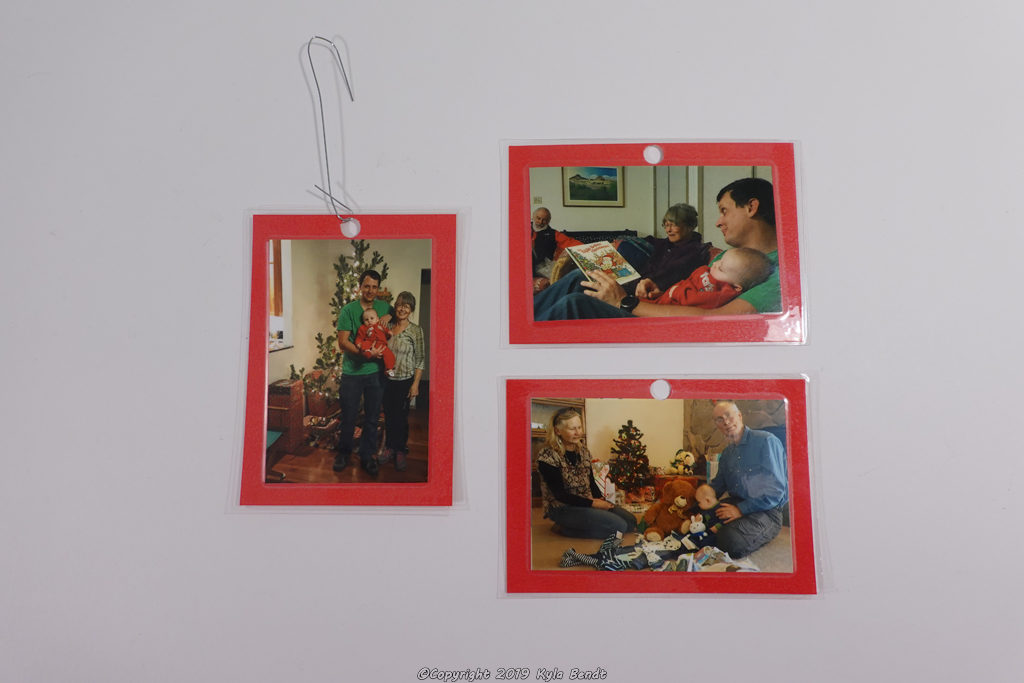
Here’s a few other laminated Christmas ornaments I made the year before. For these ones, I used pictures from the previous Christmas.
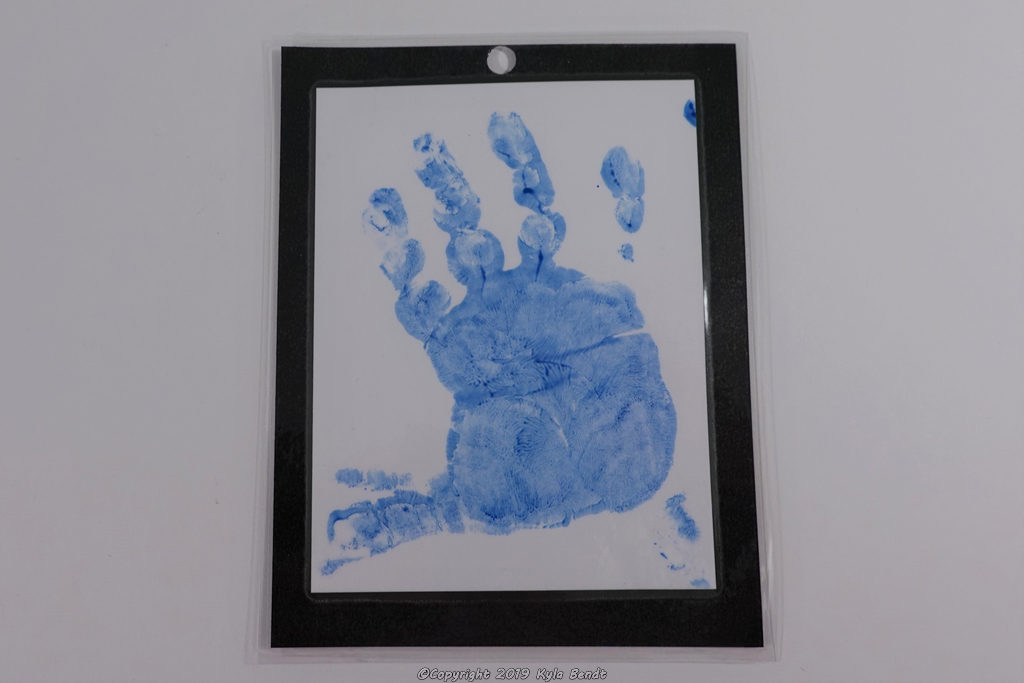
And for this one, I used one of B’s handprints.
Here’s some more of the laminator things I’ve worked on: Laminator Projects: cool and unique things to make.