
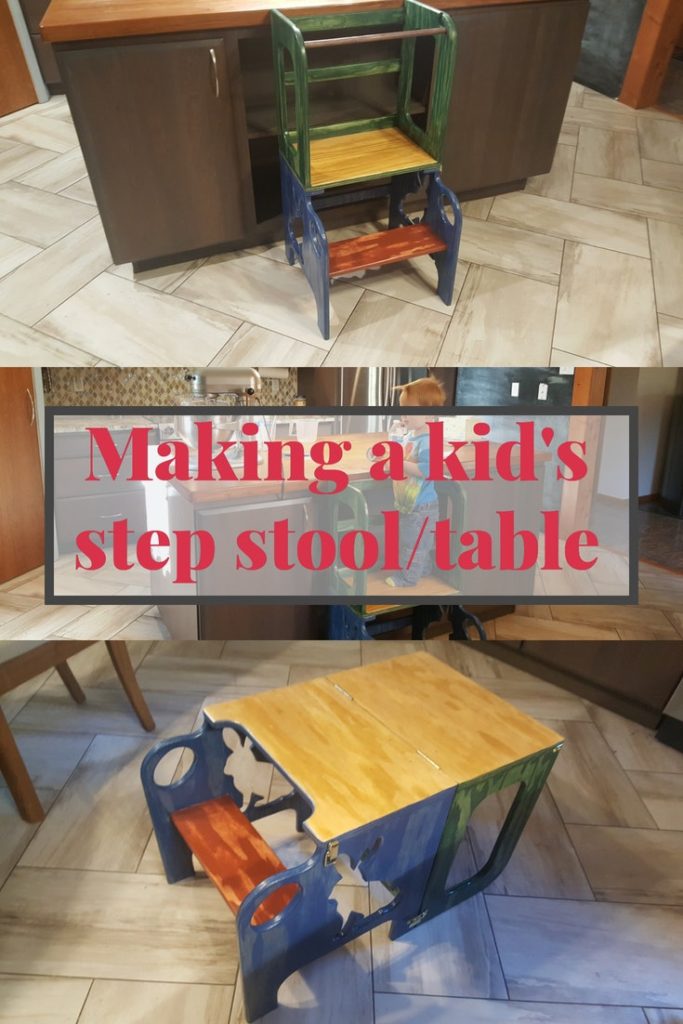
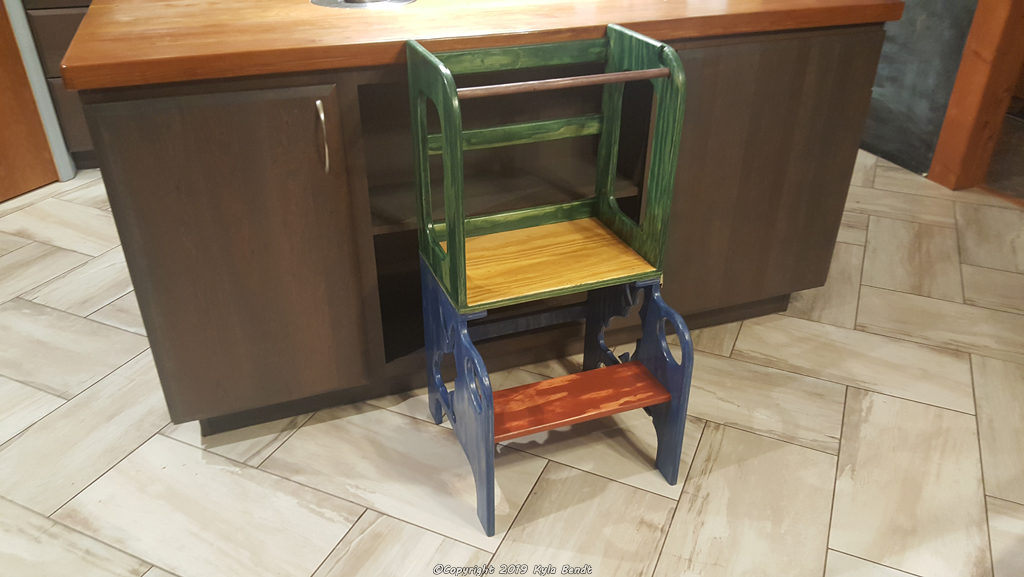
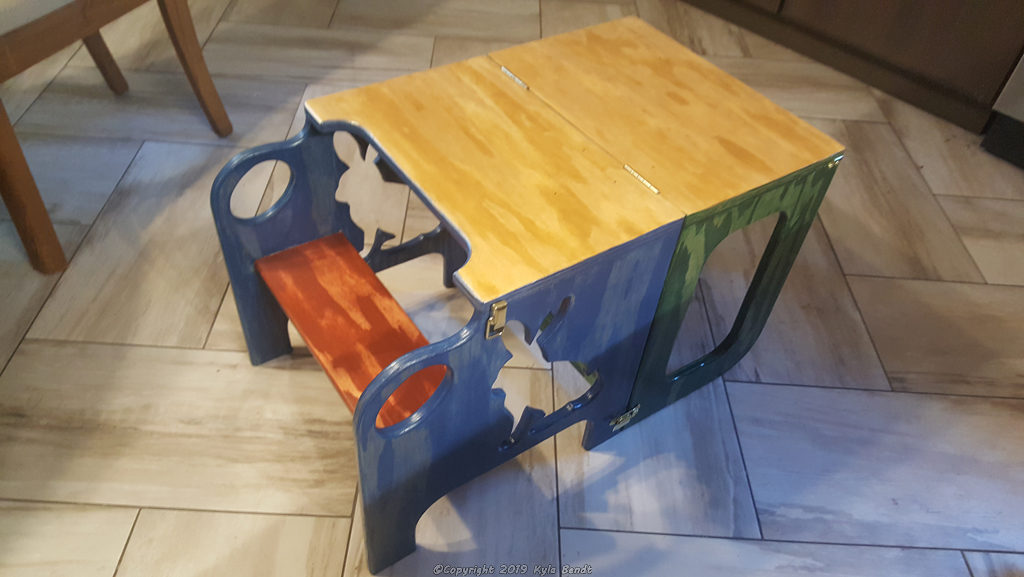
I recently made this kid’s step stool for toddler B. (Plus it folds into a table!) In this post I’ll share my process and steps.
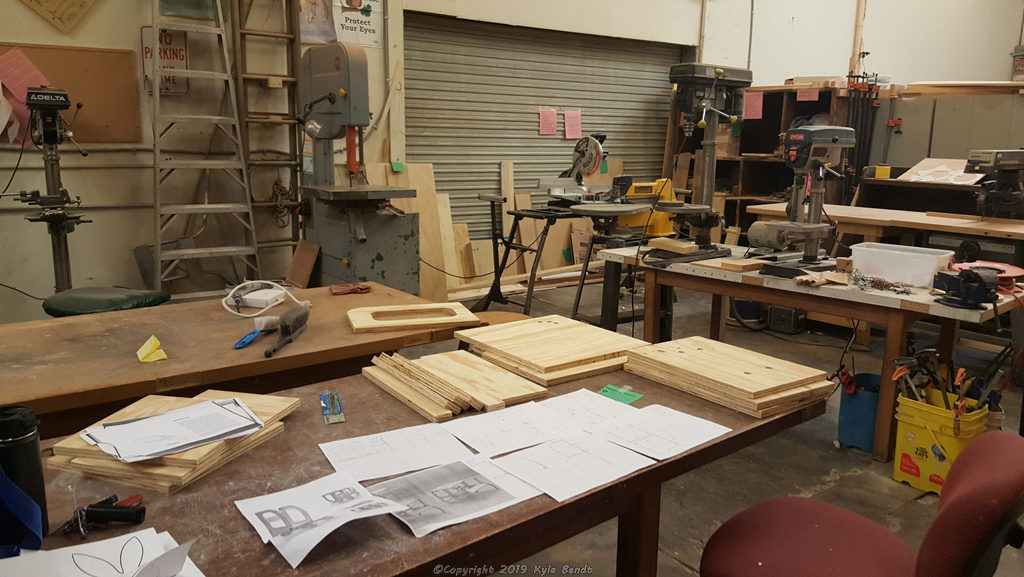
After joining Quelab, I knew I wanted to come up with something to make in the wood shop there. They require training on any of the equipment that is potentially dangerous before you’re allowed to use it and the best way to get trained on a lot of things is to have something you actually need it for.
Then one day I was searching for kid’s step stools on Amazon. B is at an age where he needs one. Whenever I’m cooking in the kitchen, he wanders around underfoot trying to get my attention, making noise, trying to figure out the child latches on the cupboards and fussing.
Mostly, he’s just curious and wants to see what is going on but is just too short. He likes it when I pick him up so he can see, but a lot of cooking tasks are hard to do while holding a child.
Eventually I found a couple of cool kid’s step stool designs that also fold into little tables. They were sort of expensive and I decided I’d like to give building my own a shot. In retrospect, considering the extensive amount of time it took me, it wasn’t exactly economical. But I wouldn’t go back and just buy one if I could. I learned so much through the process and I just love the feeling of having something that I made.
I sent out an email to the Quelab mailing list and one of the guys volunteered to help me with my project and train me on the equipment I needed for it. (Thank you D!) Have I mentioned on here how much I love Quelab?
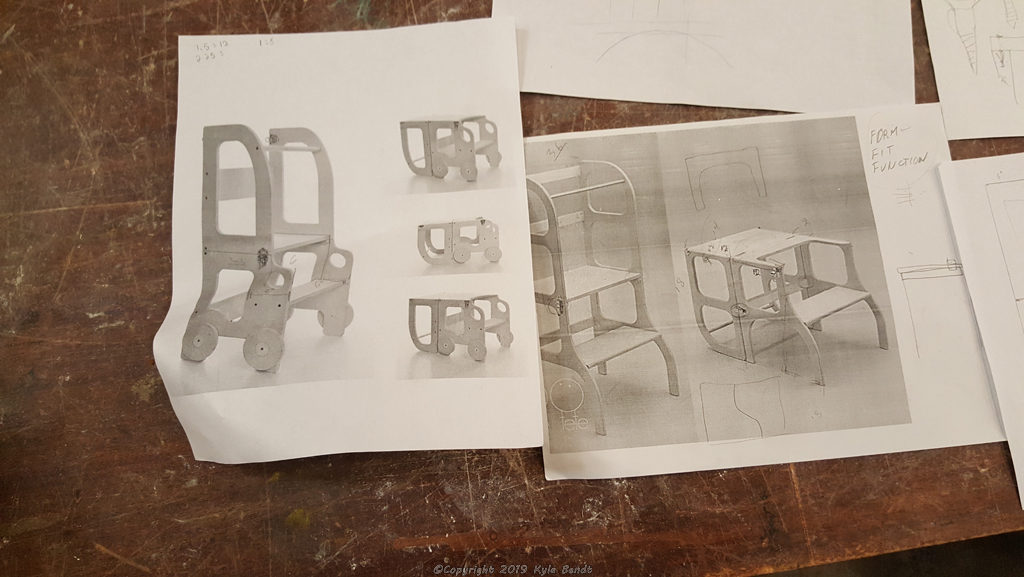
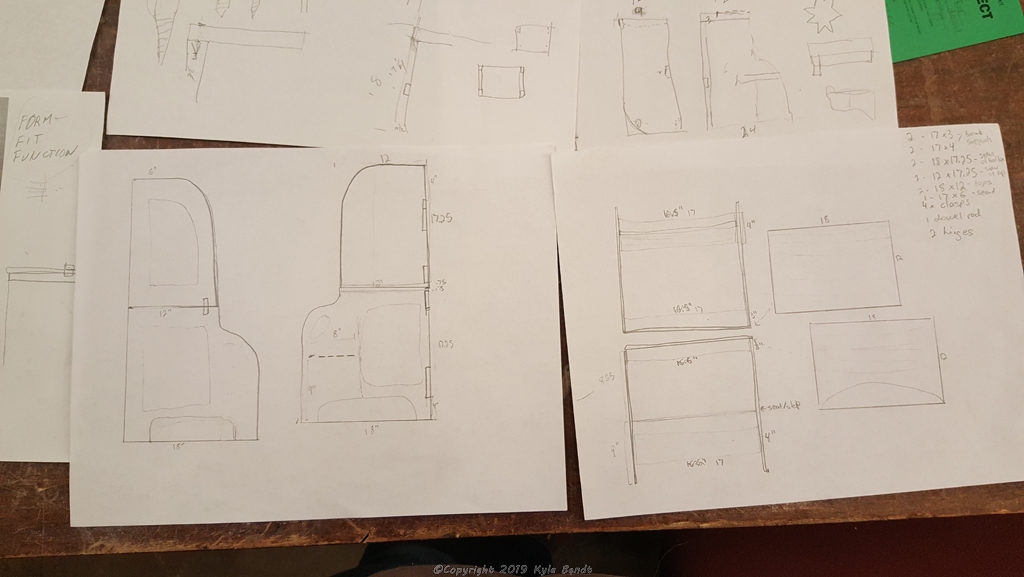
Making Plans
The first day we met, we just talked and discussed the plans. He insisted I draw up plans for the project. (I just wanted to dive in, but my plans really did pay off.)
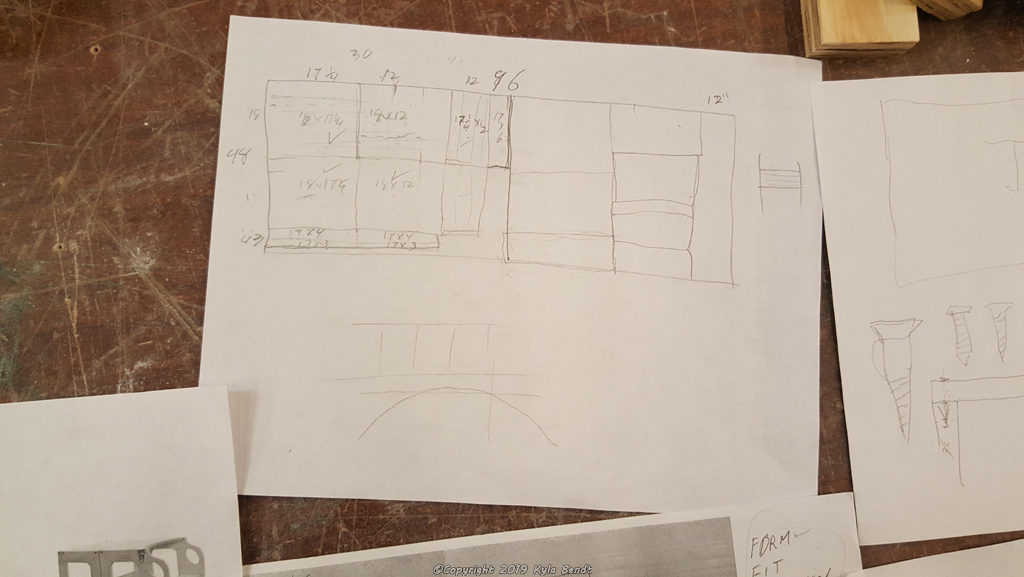
Cutting out the pieces
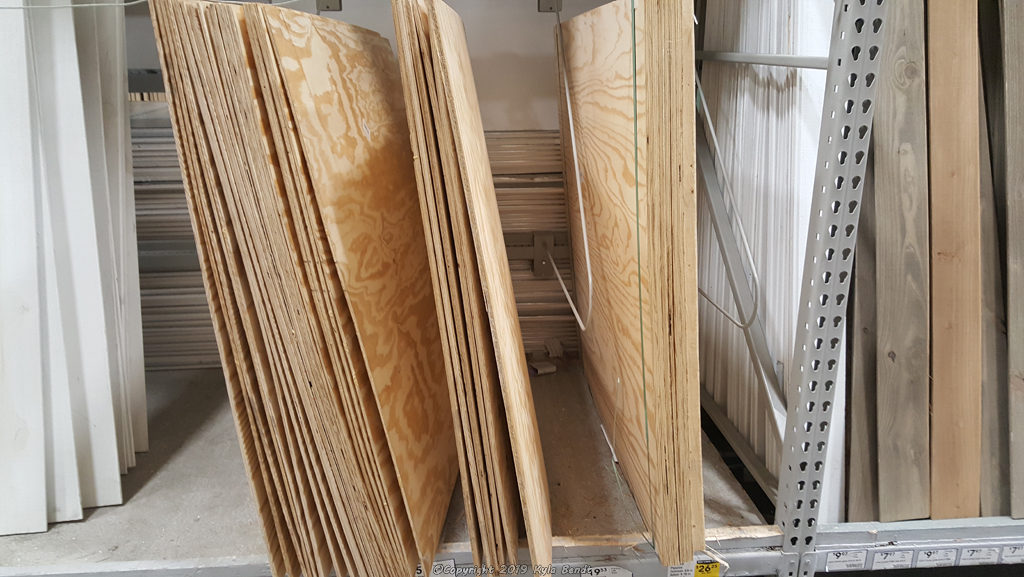
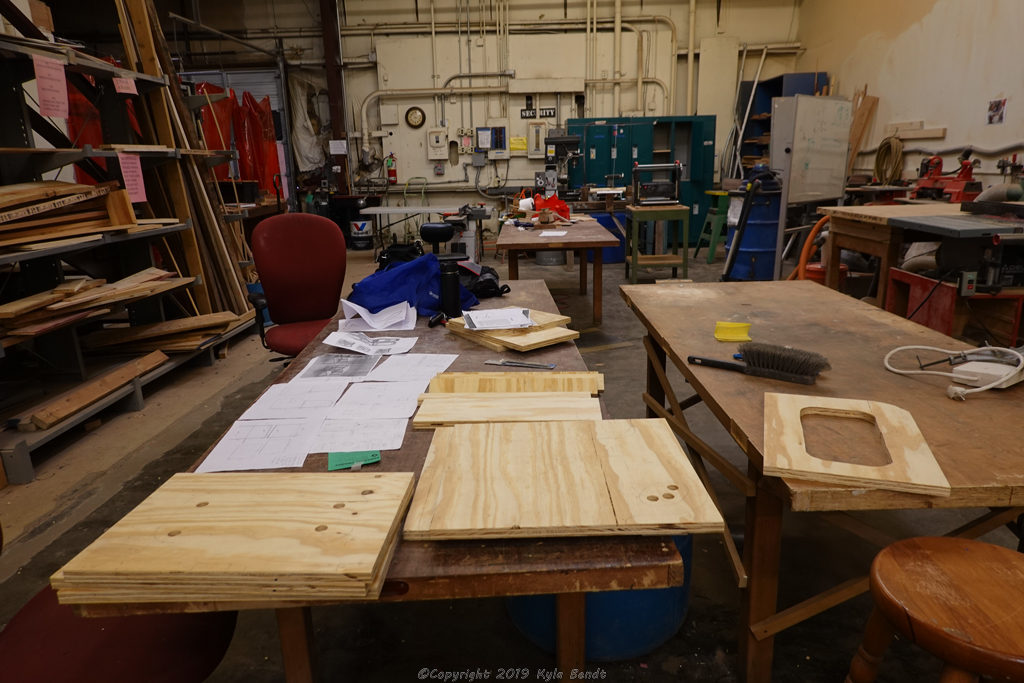
The next time we met, we planned out how the pieces would need to be laid out to cut them out of a piece of plywood. We figured out we could do it all with a four foot by four foot sheet. Then we made a trip to the hardware store to buy the plywood, some hinges and some clasps.
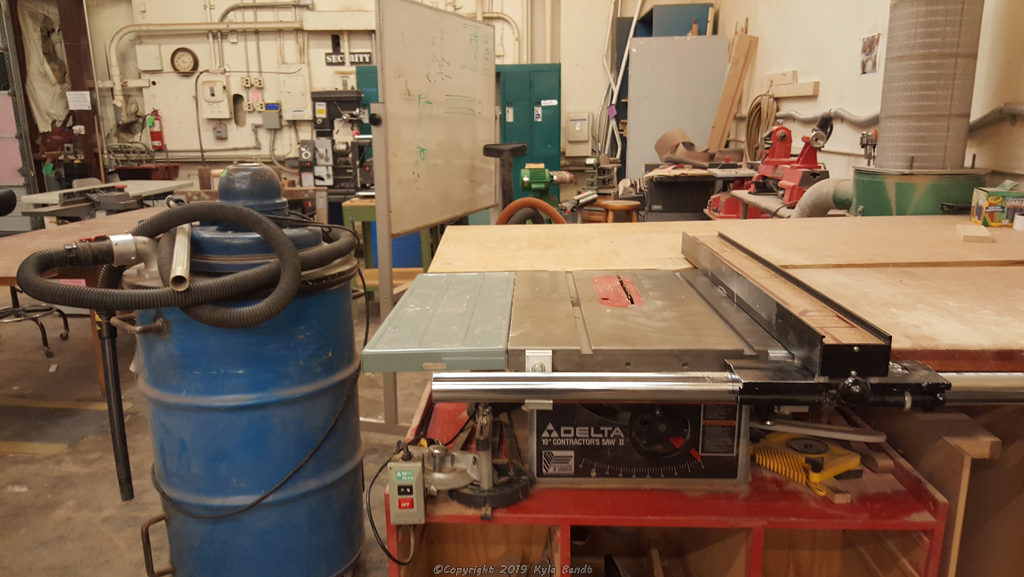
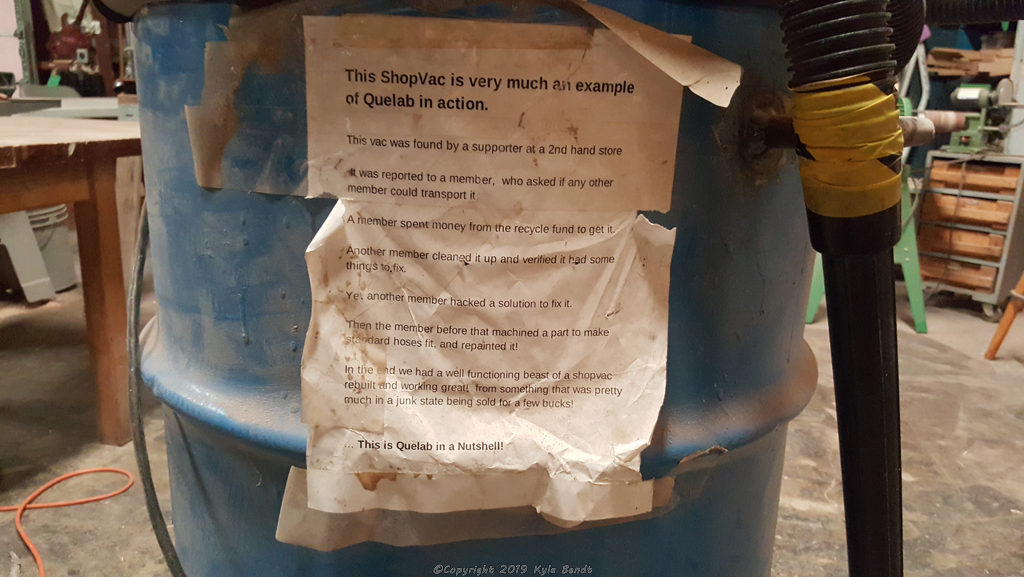
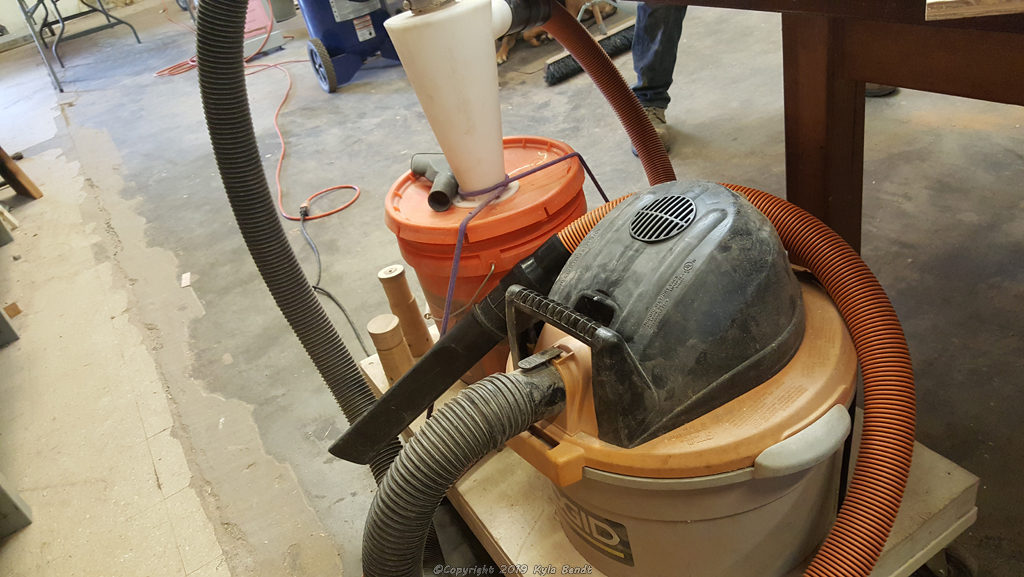
The first order of business was using the table saw to cut the plywood down into the pieces I’d need. I also got instructions on running the shopvac. The table saw made me crazy nervous, but I’ve since used it again for another project and I feel more confident with it. I’m still super cautious though. I know somebody who chopped off the tip of their finger on a table saw and I don’t want that to be me.
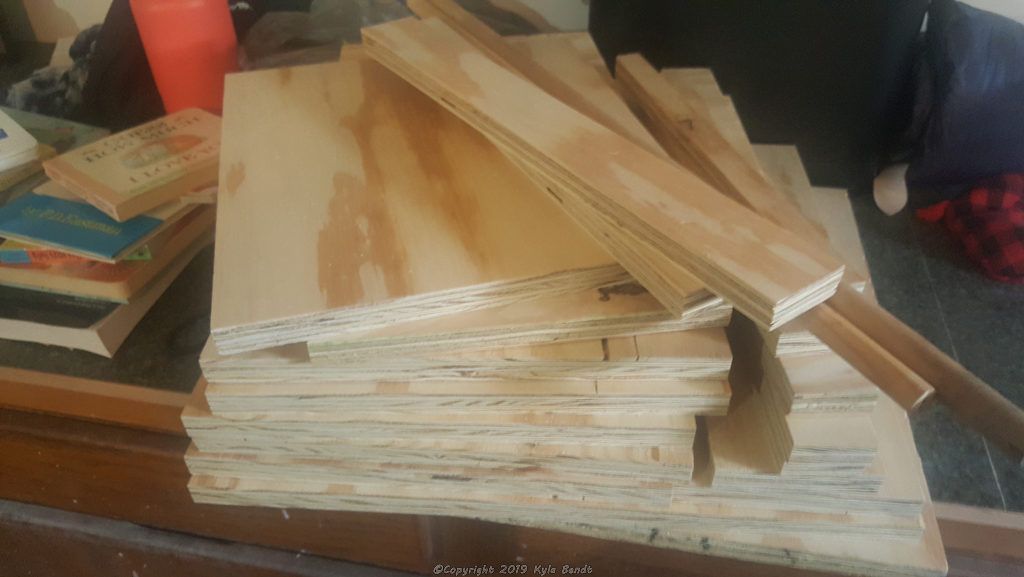
Then I had a stack of rectangles, which I was unreasonably proud of.
Shaping the pieces
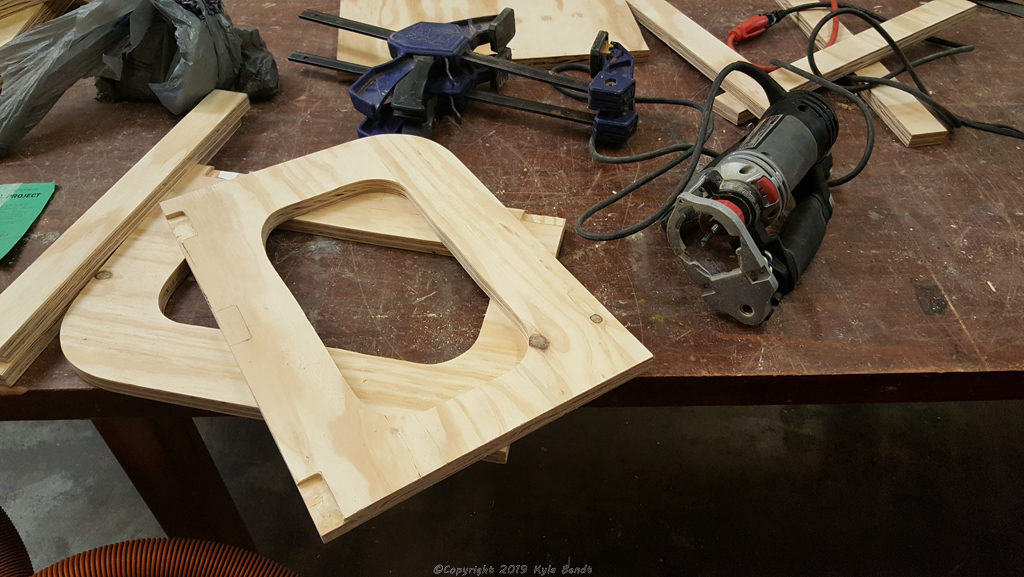
The third day D and I met up was to start cutting the curved edges for some of the pieces and cut out the inside holes. When I started the project, I did not think holes were necessary, but D explained that they actually served a purpose by reducing the weight of the final project.
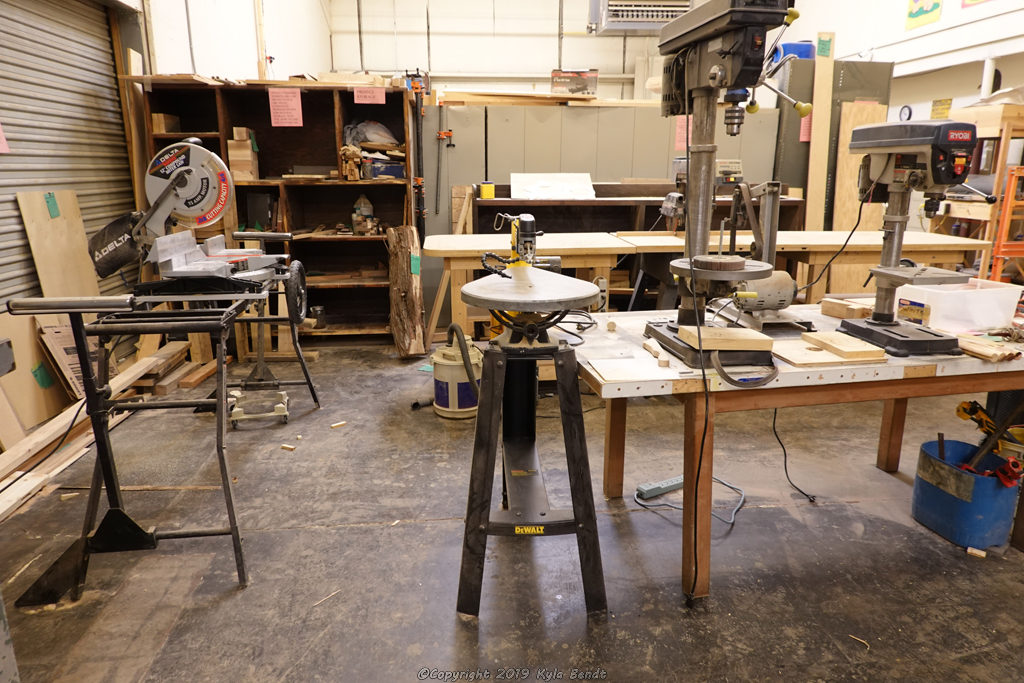
He taught me how to use the bandsaw to cut some of the curves for the outside edges, but I ended up thinking the scrollsaw was easier for it.
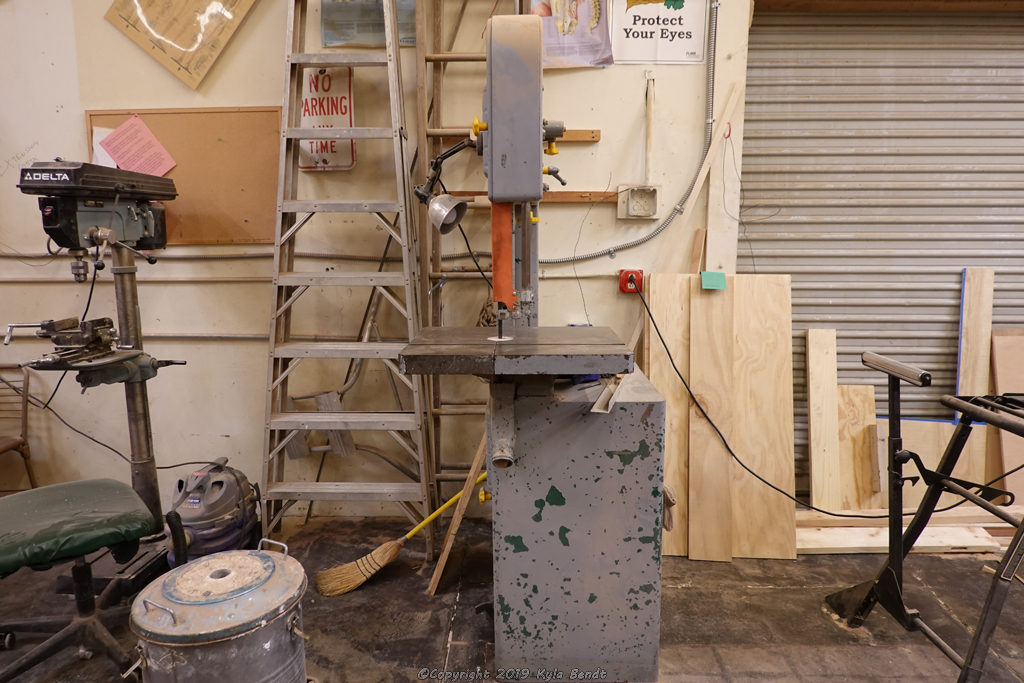
The bandsaw won’t work for cutting out inside pieces, so I got to learn how to use the scroll saw for those. But first up was learning how to use the drill press. One needs to have a hole to start with to put the blade through in order to cut out an inside piece with the scroll saw.
The scroll saw
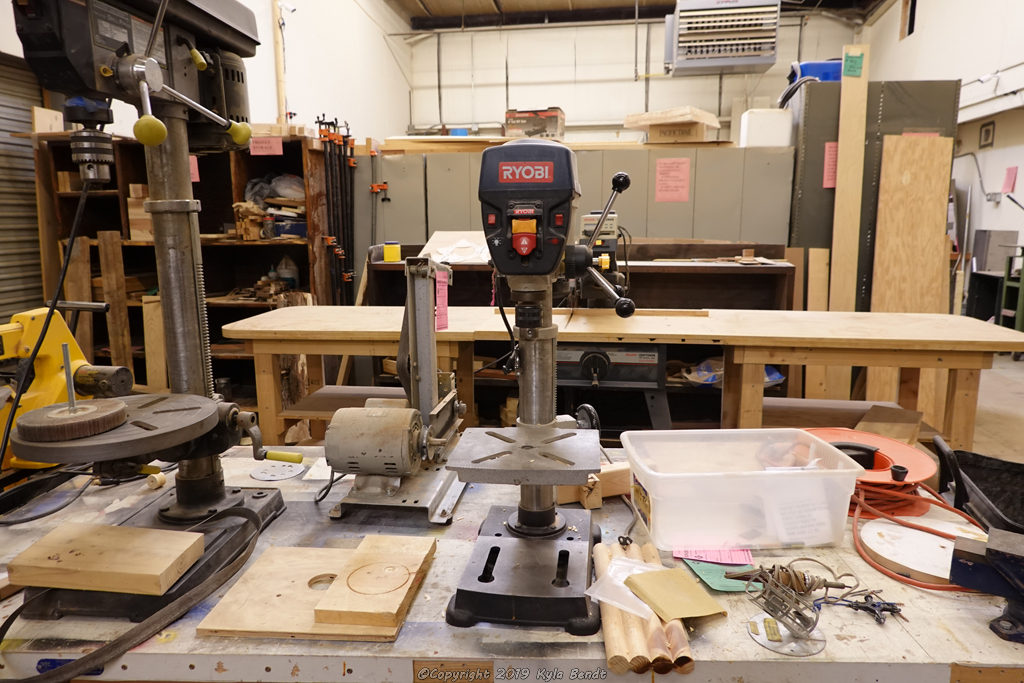
The cool thing about the drill press is the ability to drill holes that are straight up and down. This is nearly impossible to do with a handheld drill. This wasn’t actually an important thing for what I was doing, but I can see where it could come in handy.
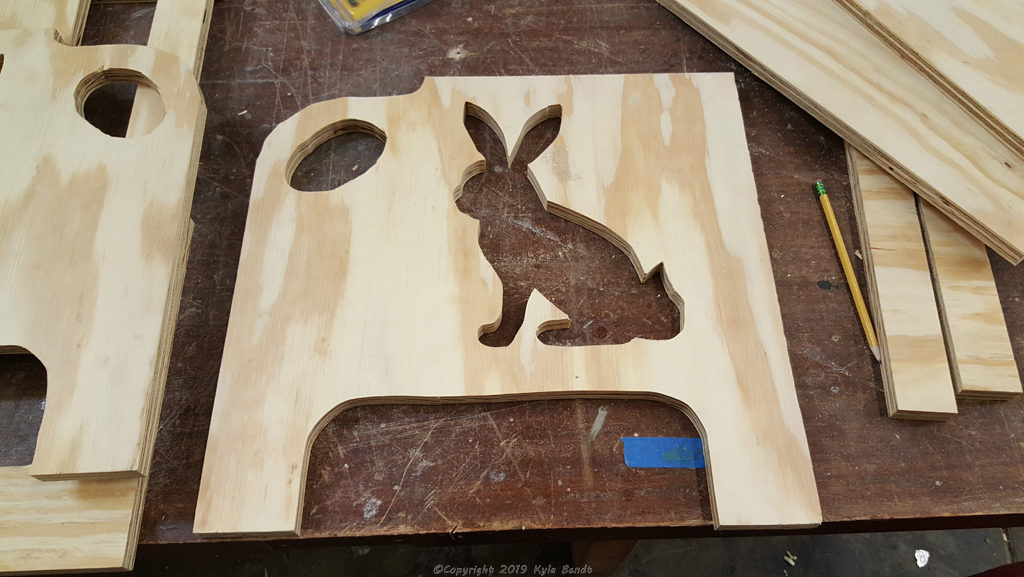
Once I had a few starter holes drilled, I got to work with the scroll saw. It’s a super fun tool because you can basically cut whatever shape you want.
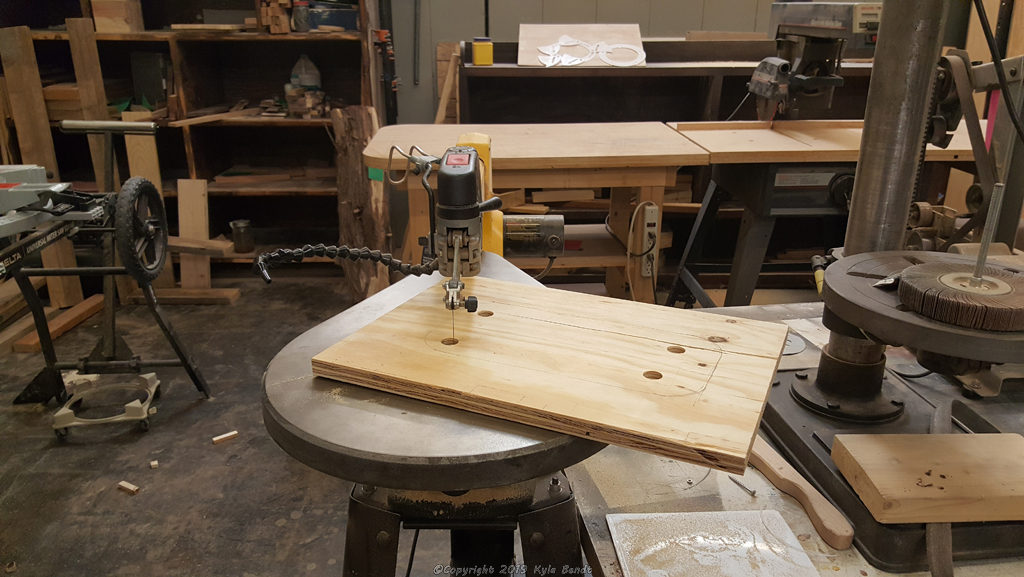

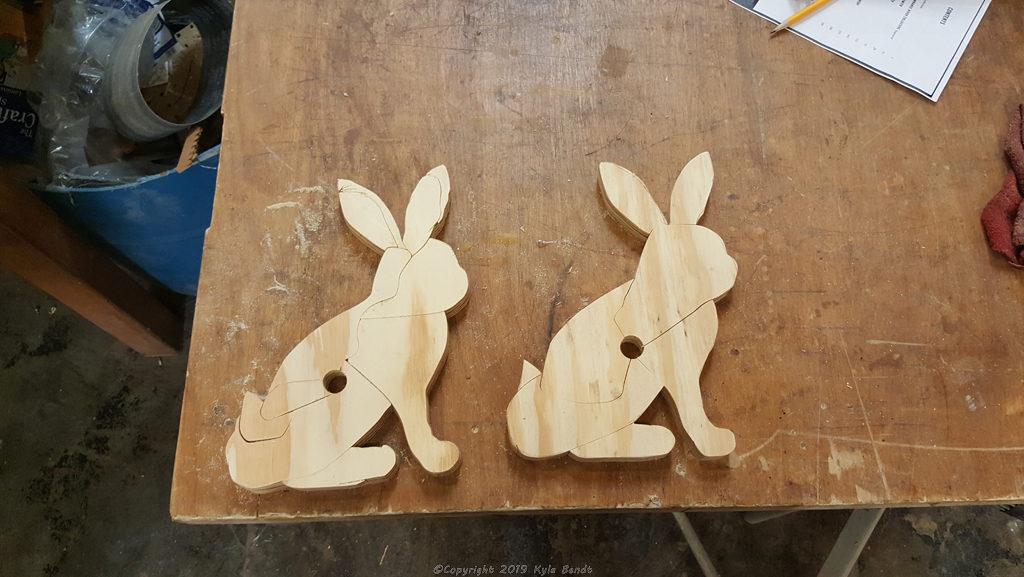
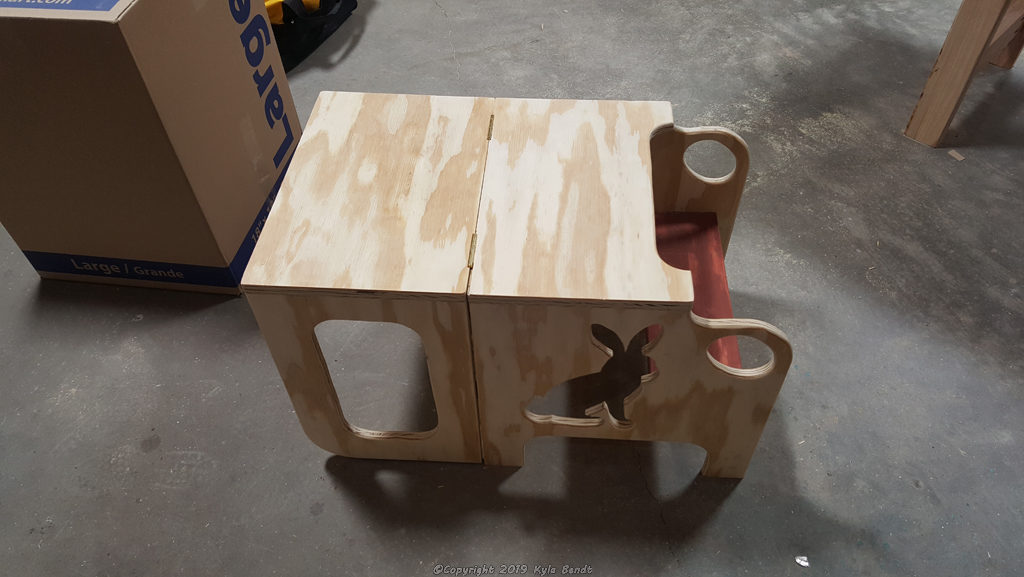
D said my cutouts could be whatever shape I wanted, so of course I picked bunnies for the bottom part. For the cutouts for the top parts, I kept it simple because that piece turns upside down when the stool is converted into a table. I didn’t want upside down bunnies.
As a side effect, I ended up with scroll saw bunny puzzles. And something in my head clicked about where the term ‘jigsaw puzzles’ comes from.
Sanding
Then there was lots of sanding to get all of the edges smooth from my scroll saw cuts. I like things to be sanded, but the actual process is just dusty and not that much fun. I also put wood filler in any places that needed it.

Routing out dados and making rounded edges
On yet another day, D showed me how to route out little indentations (officially called dados) for the back supports and the step/seat. He also showed me how to use the router to round the edges of the pieces. Hearing him talk about it, I wasn’t convinced this was a necessary step, but when I saw how sleek the rounded edges looked, I was sold.
I came home from Quelab and told S that we should get a router. He replied that he has one. Then I remembered that I had seen a box in our shop one day that said ‘Plunge Router’. I had asked S about it, and he’d described to me what it did a little. It didn’t really seem relevant to me, so I promptly forgot about it. Now that I know how to use the thing, I have lots of ideas for it
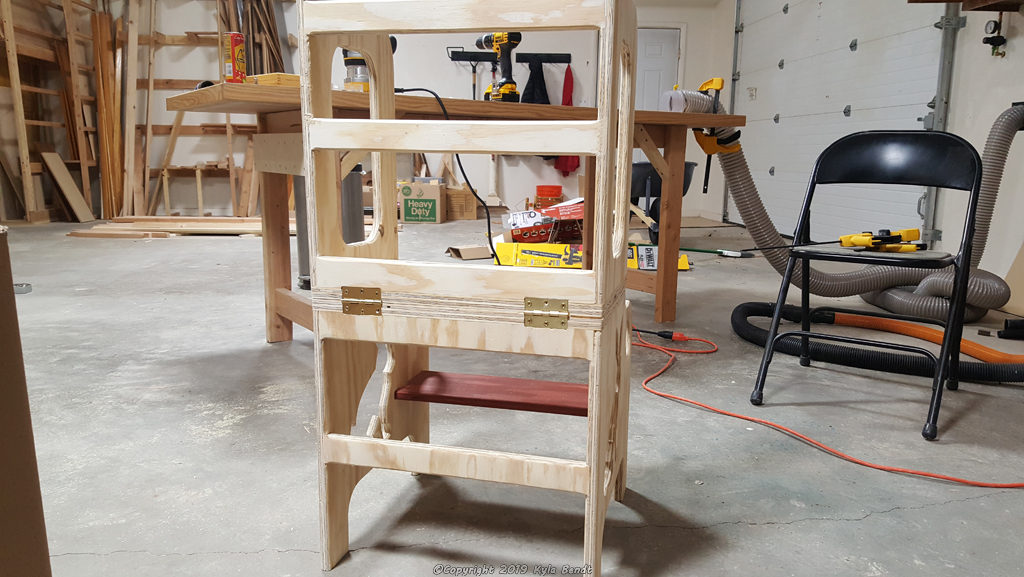
Finally! Time to assemble my step stool!
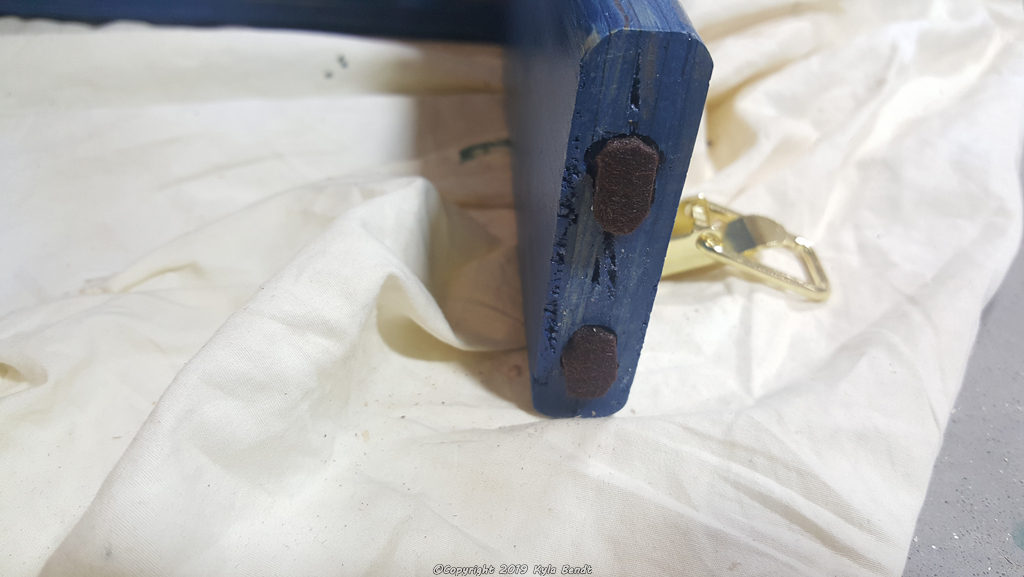
After what seemed like forever, but was really only like four or five weeks, I was finally ready to start my assembly process. I used a combination of a few screws and some wood glue to hold everything together.
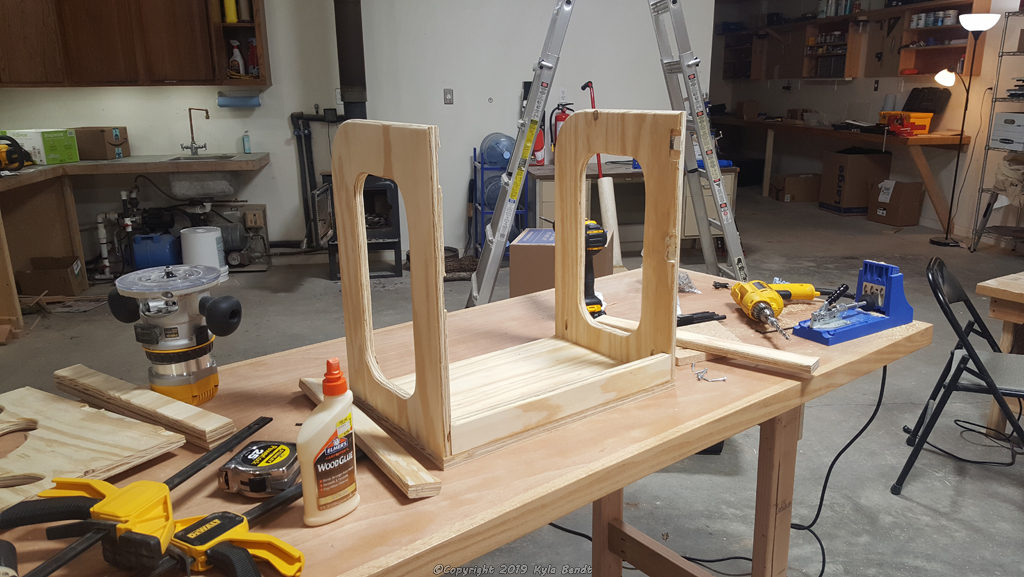
It was so exciting to see everything start to take shape! I stained the red step before assembly because I figured it would keep me from having to tape as much when I painted later. Then I ended up sanding it more and re-coating it anyway.
Adding hinges
This was the first time I’d ever put hinges on anything, so I practiced on a couple of scrap pieces. I was quite proud of my hinged scrap pieces, even thought they did nothing but open and close.
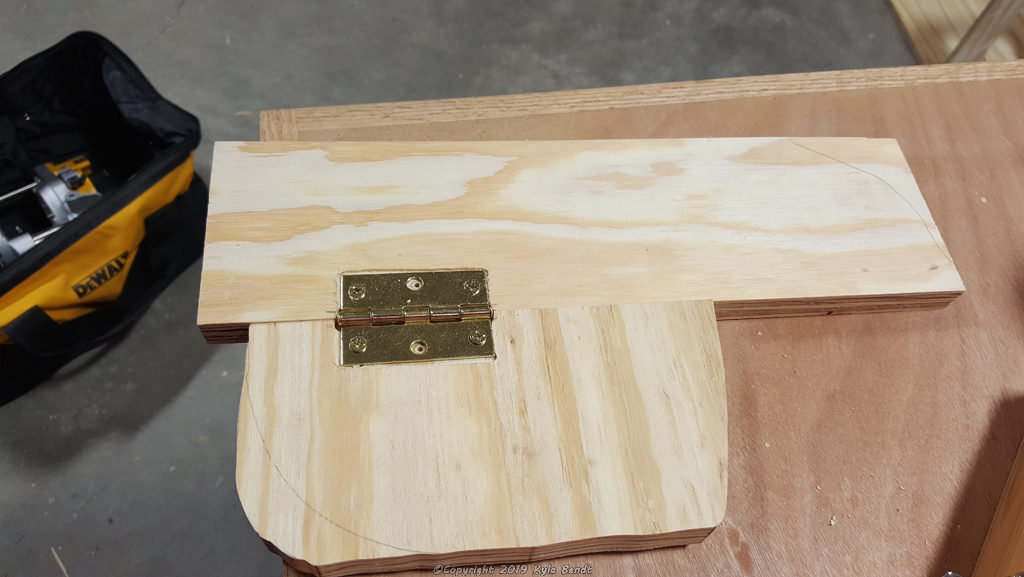
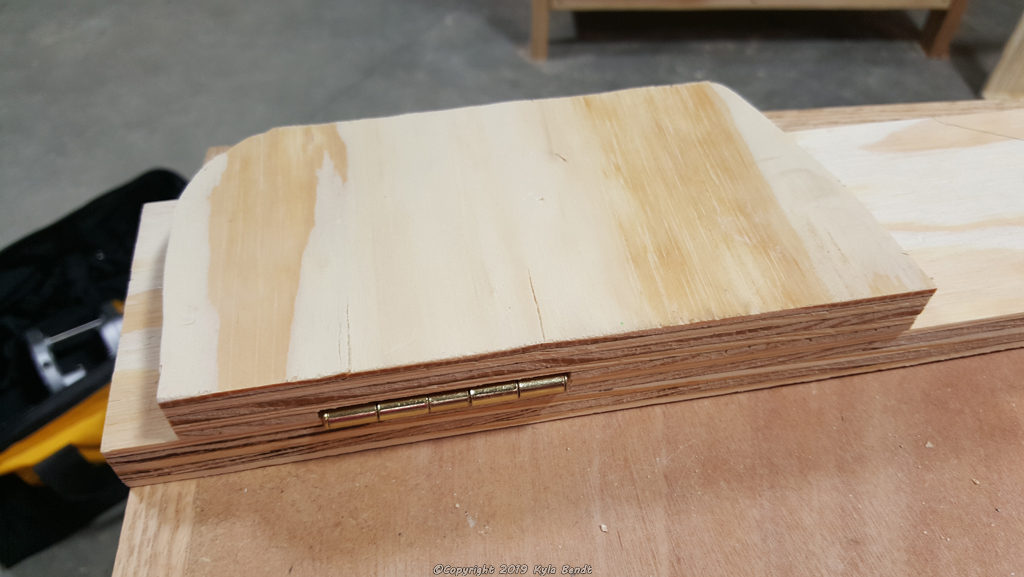
Then I got to put the hinges on the real thing. I put them on before painting to make sure that I had the spaces for them properly routed out and then took them back off before painting.
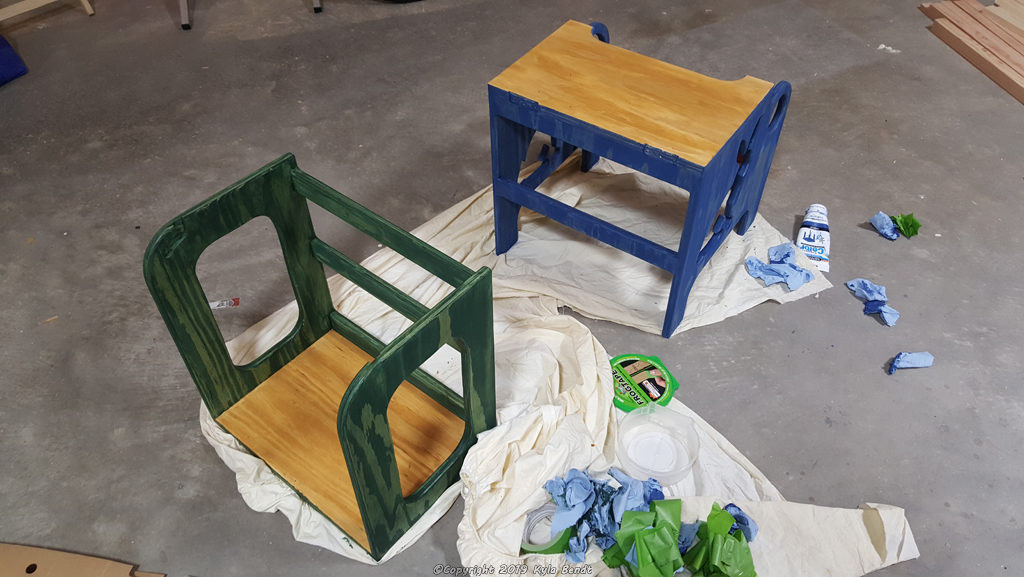
Painting the step stool/table
I’ve refinished some other furniture and the painting step is nerve-wracking to me. I don’t really make plans ahead of time. My visual imagination sucks and I can’t imagine how certain colors would turn out. I just start painting and pray for the best.
For this project, I used some colored stains that I’ve used on other projects like the coffee table I refinished. I love these stains because they’re easy to apply, they come in several cool colors and it maintains the character of the wood. Then I just put some clear coats on top.
Finishing touches
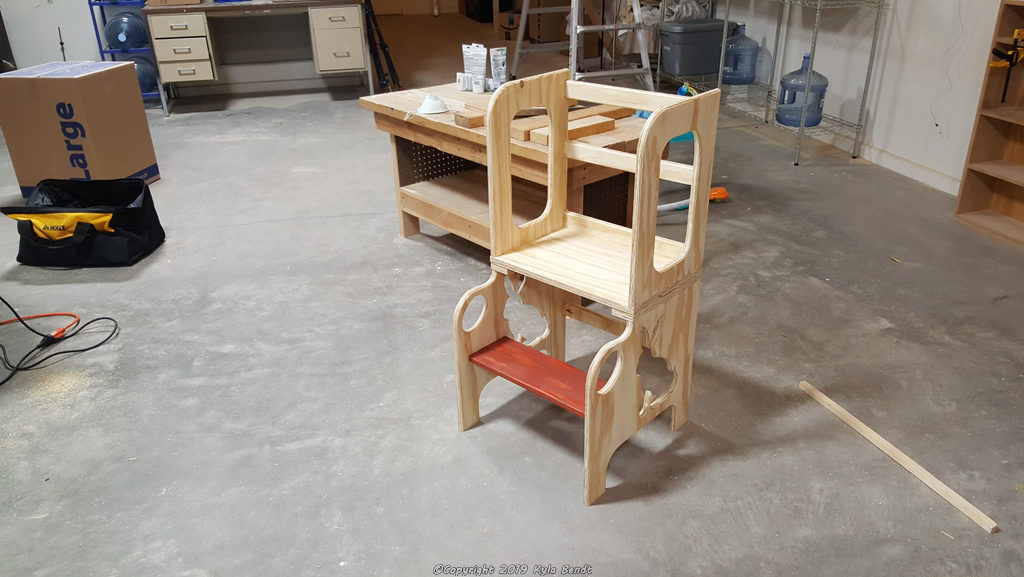
Finally it was ready for assembly. I put the hinges back on and added some clasps that lock it into position. I had routed out little indentations in the bottom legs to put in felt pieces so that it would slide easily and quietly on the floor and I cut out stick-on felt pieces. Suddenly, I was all done!
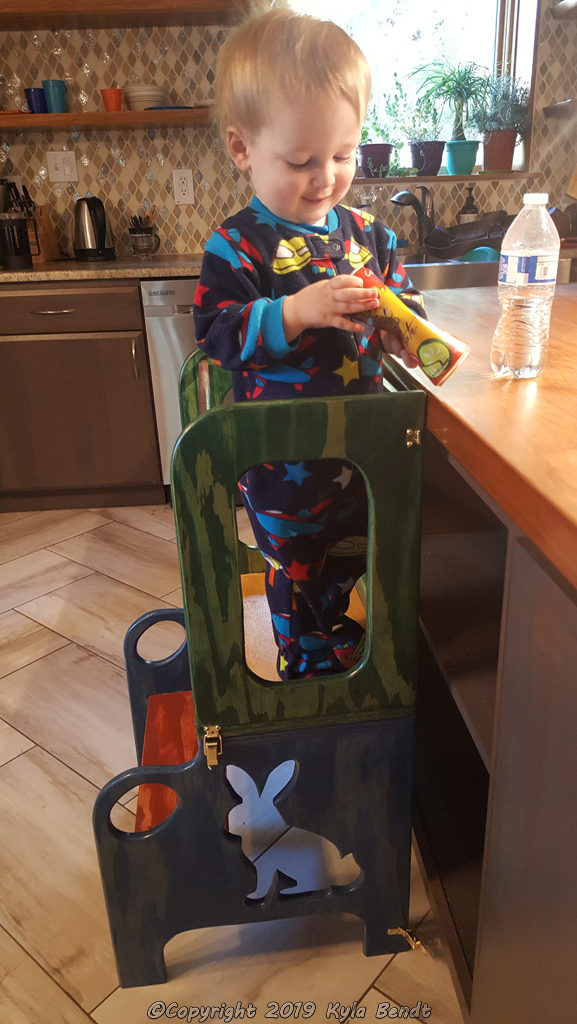
There is also a removable safety bar to keep a young child from falling off. When it’s not in use, there’s even a place to stash it under the seat. I made it so it would come off without any tools, but it’s still a tight fit. B took off the safety bar within the first 2 minutes of standing on the stool.
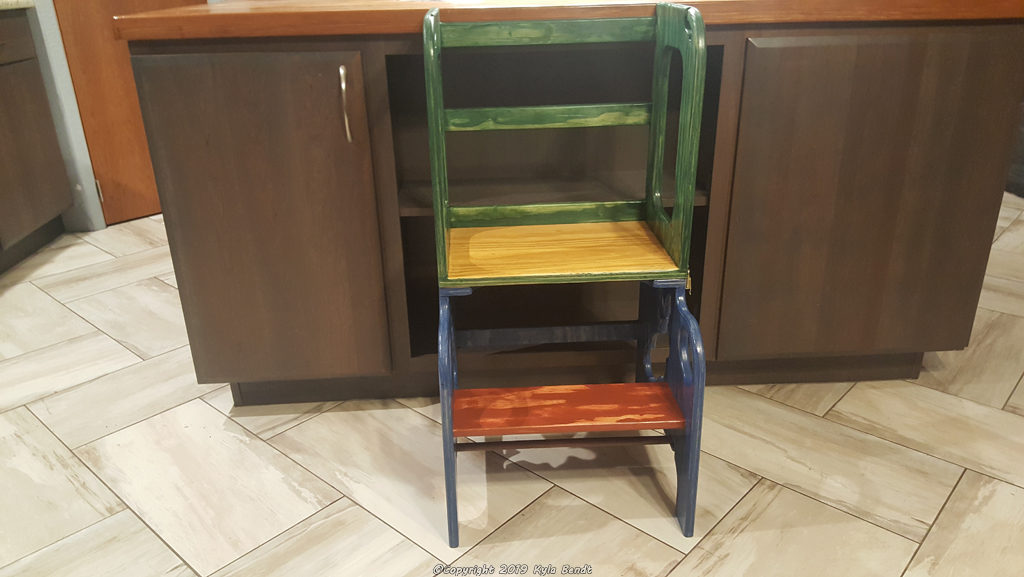
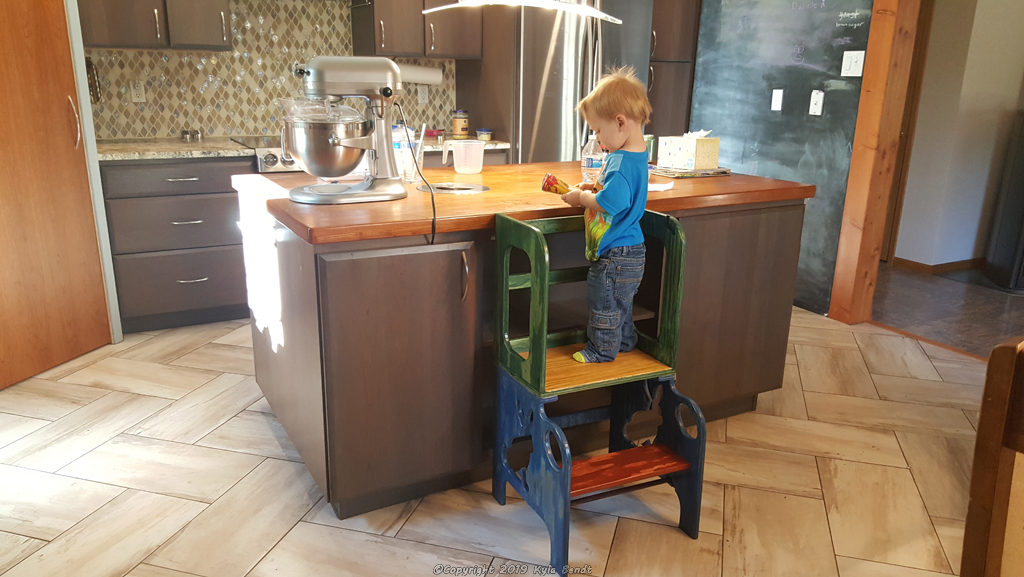
Final product!!
I can already tell B is going to love it. He really seems to enjoy being able to see what’s going on. Oddly, he hasn’t yet figured out climbing up and down on it, but I’m sure that won’t take him long. He climbs all over everything else.
Final thoughts
In some ways, this project was super over-engineered. It’s probably strong enough to support the weight of 20 toddlers. On the plus side, it can double as a step stool for me when I need to get in our tall cupboards. I was super perfectionist about all of the details, but since it was my first time with a lot of the tools and techniques, a few things still came out a little funny.
When I told S it was taking too long, he told me I was doing too much to it. Which was why at the very end, I quit after two clear coats instead of going for like six.
The last thing I did was to put on the clasps and while trying to put in one of the screws, I gouged the wood with the drill. Gah! Probably no one will ever notice the spot but me. I did put a little green stain on it to help make it blend in.
Overall, I’m psyched with how my kid’s step stool turned out
I’m proud of how it turned out and I’m really happy with the things I learned doing it. I feel like there are so many things that I see how to make now that I would have had no idea how to approach before I started this. The scroll saw and the router are my new favoritest tools.
I love making things. I love learning how to do things. It just makes the world open up. And also, did I mention the bunnies?
Update
Now that I’ve seen toddler B use this step stool for a while, I am so glad that I made it for him. He’s so much more involved when I’m doing things in the kitchen. I like knowing that he is learning about what is going on.
It did take him a little while to learn how to climb down off of it. We had to show him how to climb down backwards. Now he’s a total champ at it. And this helped him to learn how to climb down the steps on his playground.
He also recently learned he can push his stool around. This is the sort of thing that is amazing and scary to see as a parent. I have to be much more careful about what I leave out on the counters.
P.S. I hope to start making these to sell at some point so if you’re interested in one, let me know.
6 Responses
This is great! I am going to send it to my friend who has a toddler! If she didn’t want to make it herself, would you consider selling one? Just checking!
Yes, definitely! I am actually going to try making these for sale. It will probably be a bit before I get the design finalized for them- I want to make a few tweaks based on my experience with this one.
Plus I need to figure out how to make them a little faster so I don’t have to sell them for like $3,000 just to cover my time, lol.
I can definitely say after having watched B with it for a few weeks that I am SO glad I made this for him. He climbs up on it all the time and loves to see what is going on and ‘help’ me in the kitchen.
There used to be library steps stools/ladders rather like that which doubled as chairs. I keep watching for one.
This was a fun mailing.
Somebody else mentioned those to me to and referred to them as “Franklin Chairs”. I guess Benjamin Franklin came up with the design- or at least that’s how the story goes.
There seem to be a couple available on Amazon, although some of them seem to have hit-and-miss reviews:
https://amzn.to/30ccxVq
https://amzn.to/2JwzWLg
https://amzn.to/2JvqVSD
Very cool idea though- I may have to make one myself some day.
It is adorable! And I’m so impressed with your initiative and creativity. I love seeing the things you make.
Aww… thank you! It was a lot of fun to make. 🙂