
I picked up this coffee table for free when I was living in my first apartment. Back then, anything with the word FREE attached to it drew me like a magnet. These days, I know better… mostly.
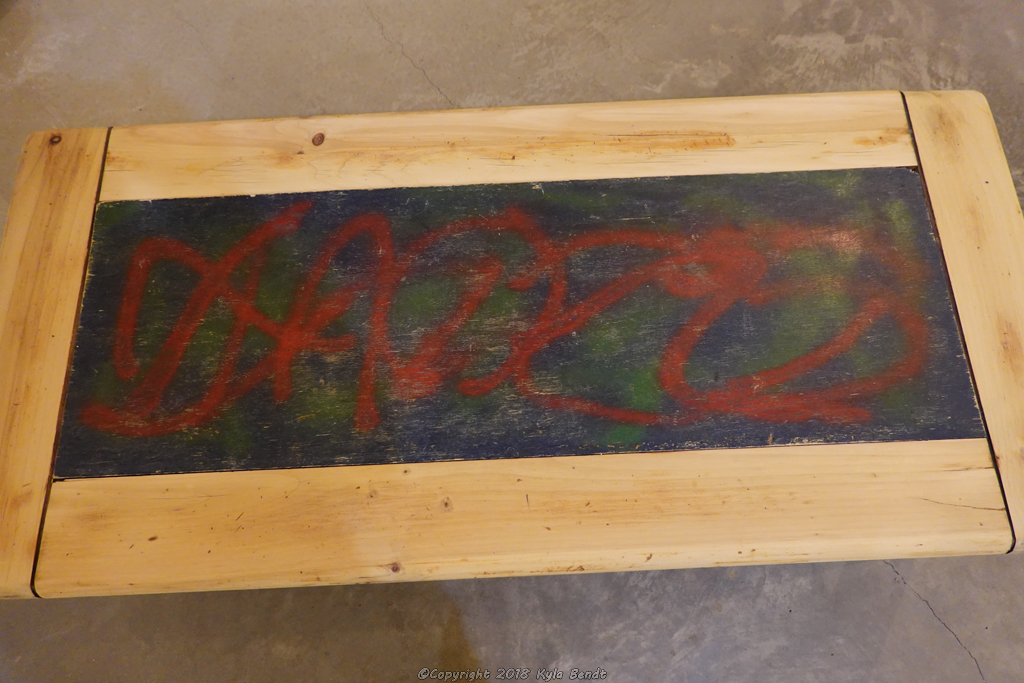
After I first got it, I spray painted the center piece, which provided suitable decor for my late teens and early twenties. At some point, part of it also got covered with glow-in-the-dark spray paint that was invisible during the day, but provided a faint glow at night and allowed one to ‘draw’ on it with a laser. This was a very amusing thing to do for the first ten minutes.
Then one day, the coffee table no longer seemed to fit ‘me’.
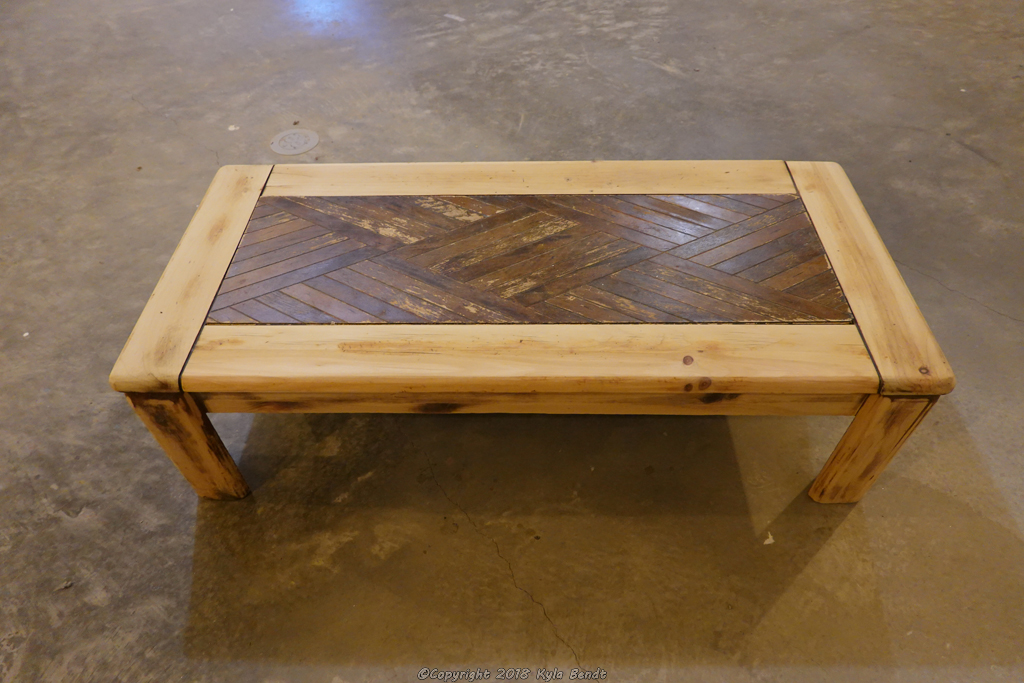
So I started a project to paint it a second time. This time around I sanded the entire thing and completely redid it. I wanted something artsy and colorful, but in a mature sort of way. I wanted a timeless effect that would still fit ‘me’ in another fifteen years. (Of course, only time will tell how I did at that.)
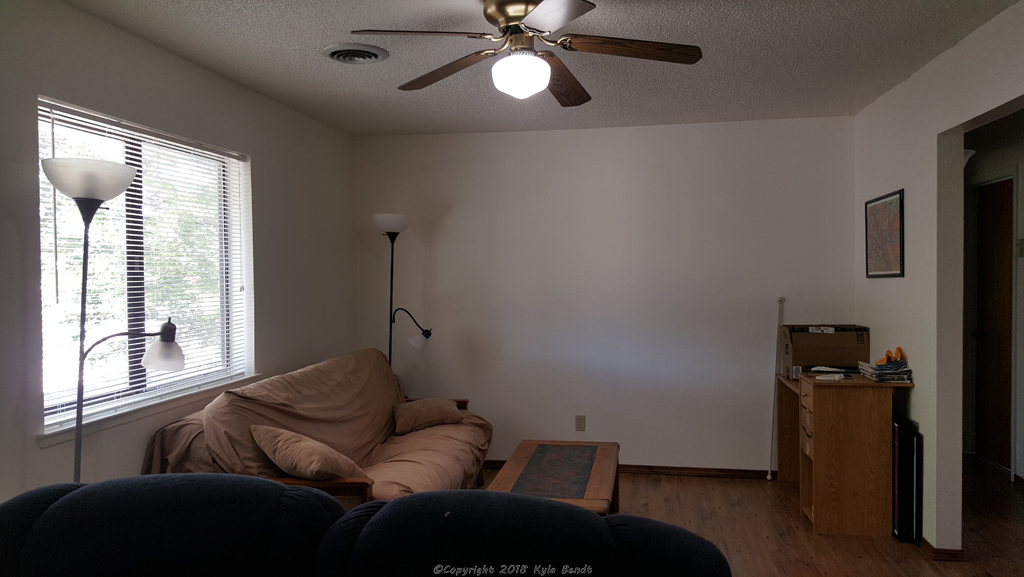
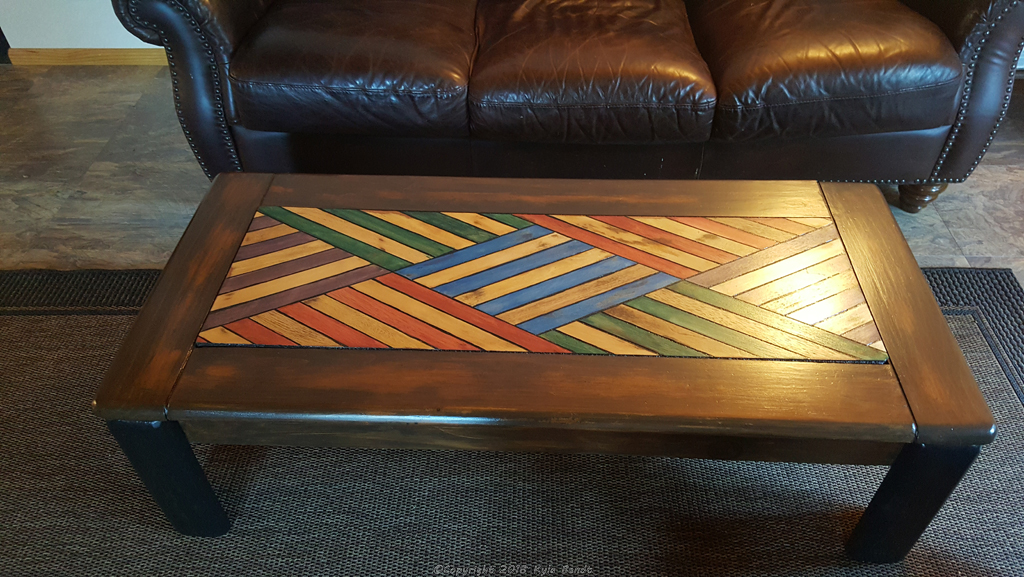
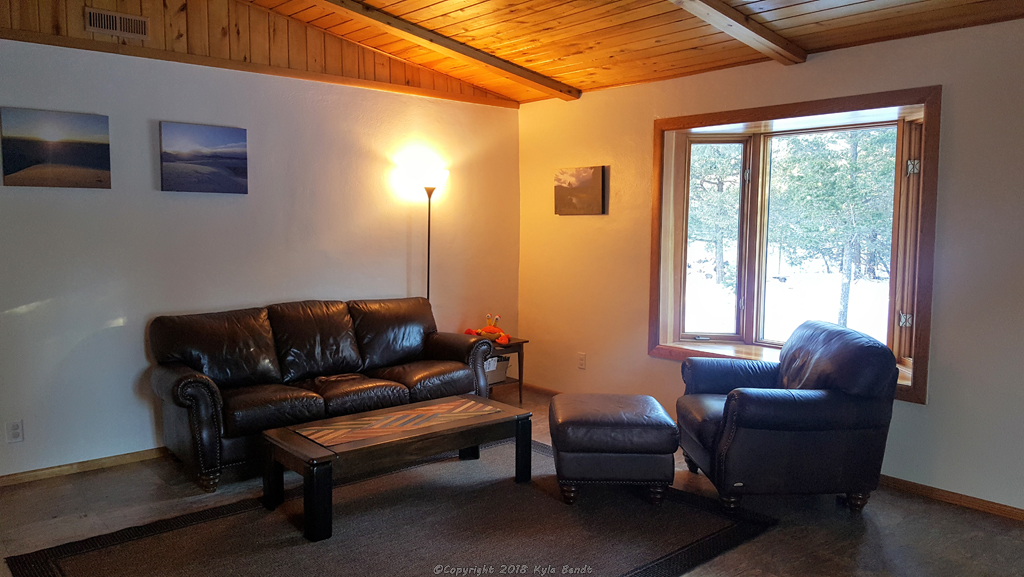
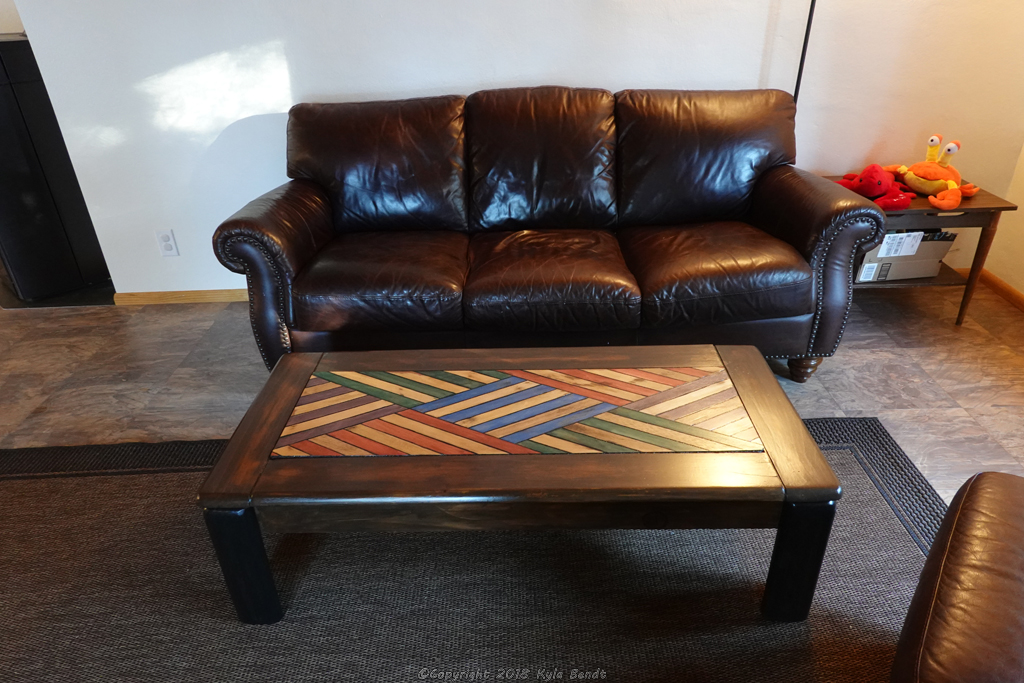
I am thrilled with how it came out. It adds a focal spot of visual interest to the living room without being too loud. The legs are black while the rest of the frame is brown which provides just a little bit of extra contrast without distracting from the center design.
And I left the original spray paint design on the underside completely untouched. I just love knowing that is secretly there where nobody will see it.
The process:
- Sand it down
- Tighten all screws
- Add a support on the bottom (not visible in pictures) to make it less rickety
- I used several different colors of Minwax Express Wiping Stain and Finish (affiliate link). I’ve used this same stuff in multiple projects and just love it. I just wipe it on with blue shop towels. There are several different colors from those that provide natural wood looks to cool colors. It tints the wood, but doesn’t cover it up so you can still see grain and other features of the wood which creates a really cool effect.
- Three coats of semi-gloss polyurethane. Three coats may have been a bit of overkill, but I wanted my work to last a long, long time.

6 Responses
Great project, Kyla,
I love the look! Classy and fun!
Thank you! It was lots of fun.
I love this coffee table! My husband and I have both been admiring it! Great work!!
Thank you! It’s so amazing to me what a new coat of paint can do!!
Very fun. I tried to send a picture of a tray I painted that I got at the dollar store. But I don’t yet know how to send pictures to blogs. I am writing a snail mail letter.
I don’t think it will let you post a picture. But I will definitely keep an eye on my mailbox!