These pouches/envelopes are quick and easy if you have a laminator (you could also try using self-sealing laminating pouches if you don’t have a laminator). They’re a fun project and make a great place to store any mostly flat objects- papers, receipts, etc.
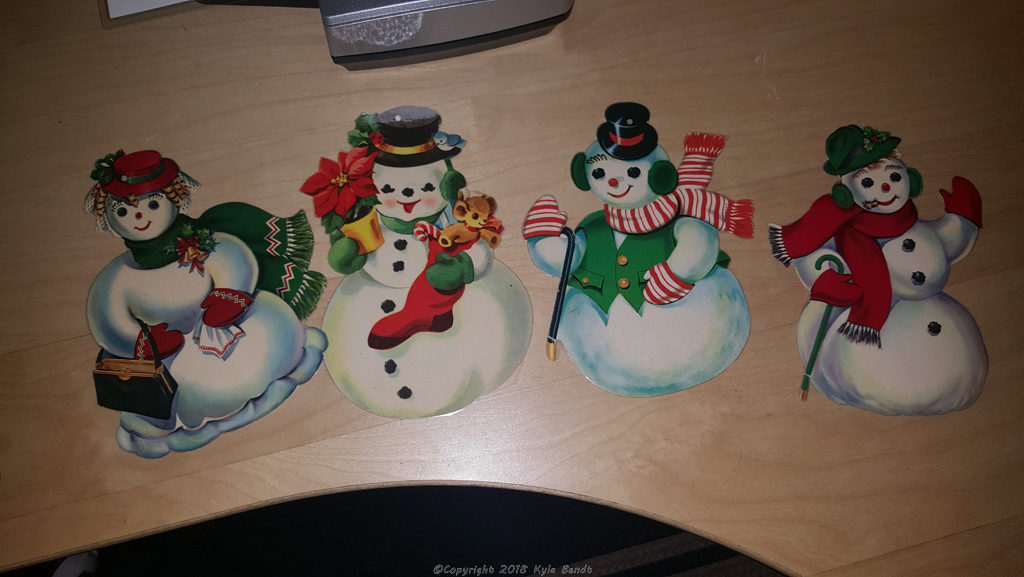
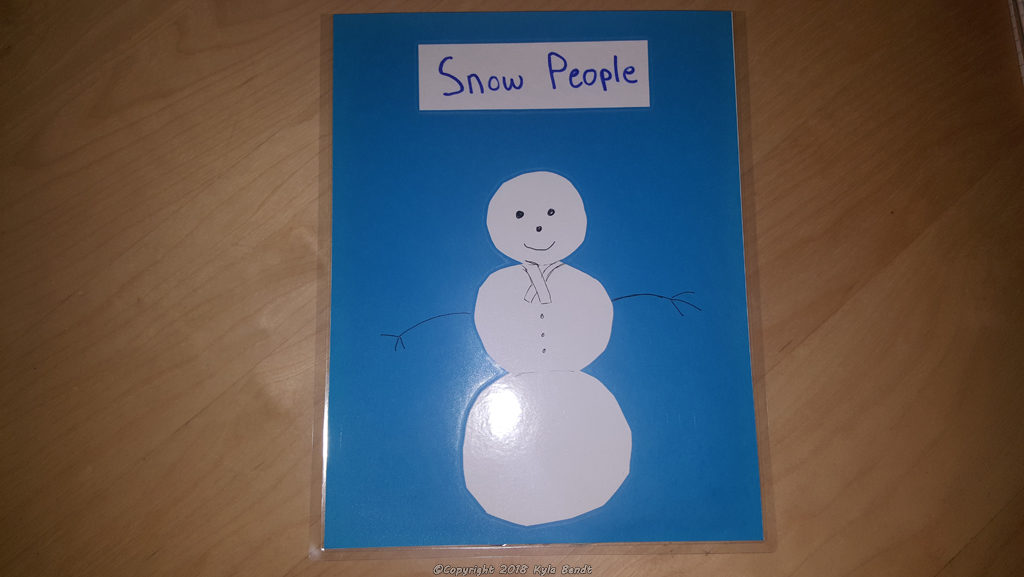
For this example, I made a pouch to store these cool snow people I have. (I also recently laminated the snow people so that they will be protected and last a long time. They’re made out of a thin cardboard and the laminator didn’t do a great job sealing all the funny edges so I then had to carefully trim them all the way around to make them look better. Note to self: thicker things with funny edges don’t laminate well. This may also be related to having about the cheapest laminator money can buy.)
Check out my other laminated project ideas!
As with many discoveries, this one was something of an accident. Once I saw the potential, the accident didn’t seem like such an accident after all.
To start out with you will want a laminator or self-sealing laminating pouches. The self-sealing pouches are fairly expensive compared to the pouches for use with a thermal laminator and you can pick up a decent thermal laminator on Amazon for $20-$30.
The self-sealing pouches really only stick on one side, so you’d want to modify the instructions to just use one sheet of paper instead of two and then one side of the envelope would still be see-through. This might even be a nice effect depending on what you’re looking for.
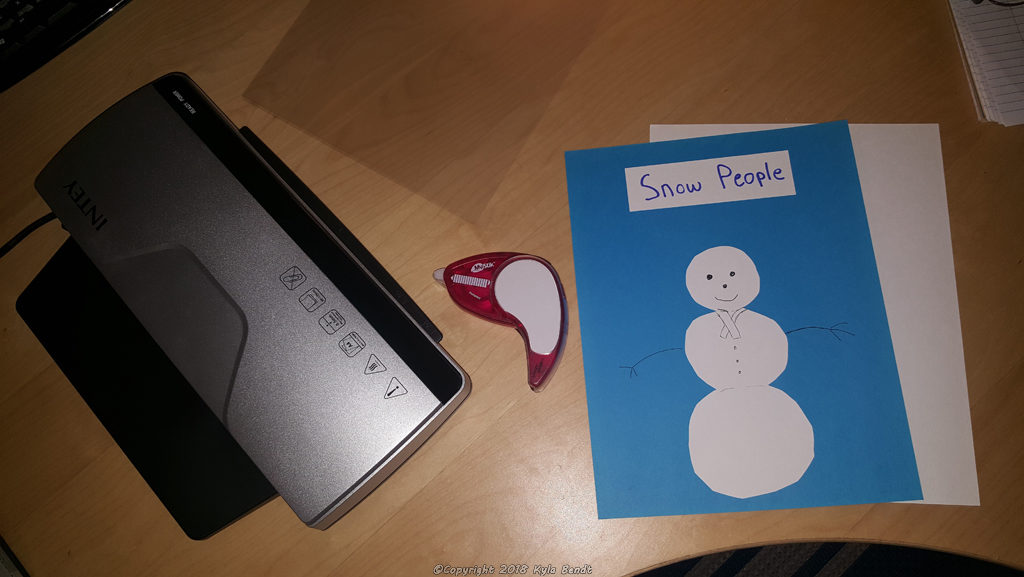
You want to start with two sheets of paper which you can decorate however you want. The red thing in the picture is a MyStik that I picked up at a scrapbooking store. It basically applies double-sided tape and I used it to stick down my snowman so he wouldn’t move around before being laminated. It’s totally not a necessary tool for this, but I’ve found it to be handy for a lot of my little craft projects.
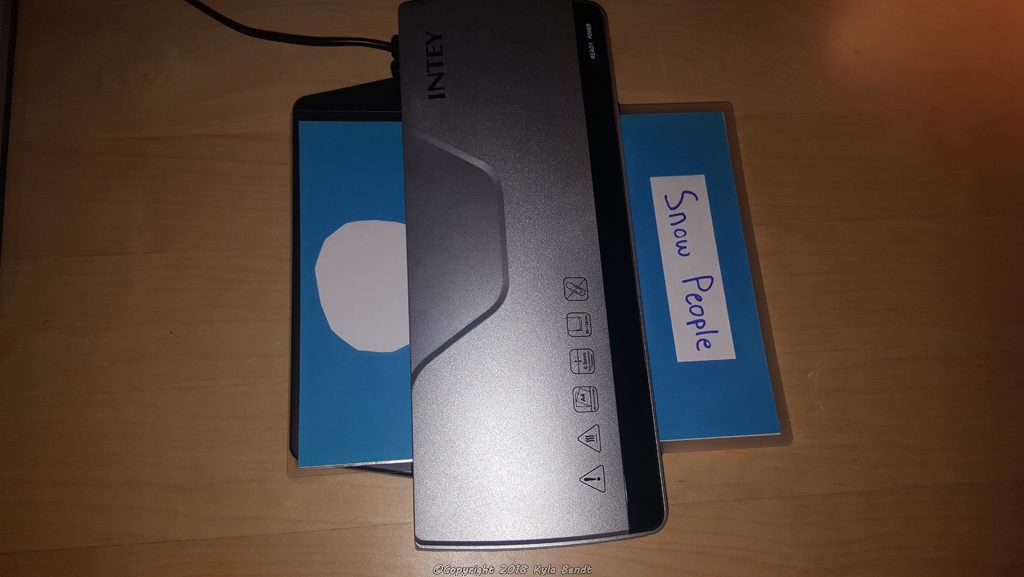
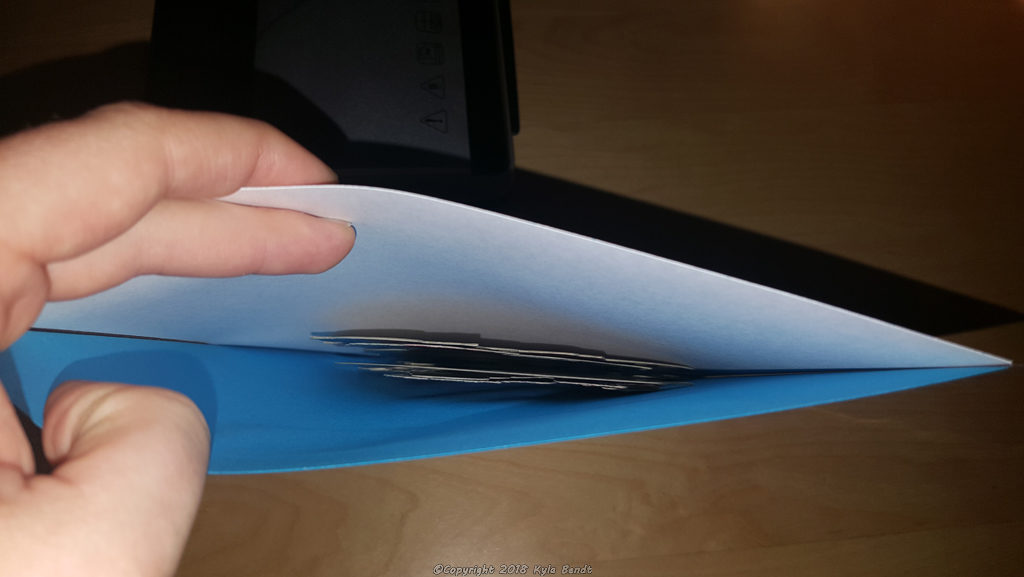
The two sheets of paper go back to back into a laminator pouch and through the laminator. You’ll want to line the pieces of paper up as closely as you can.
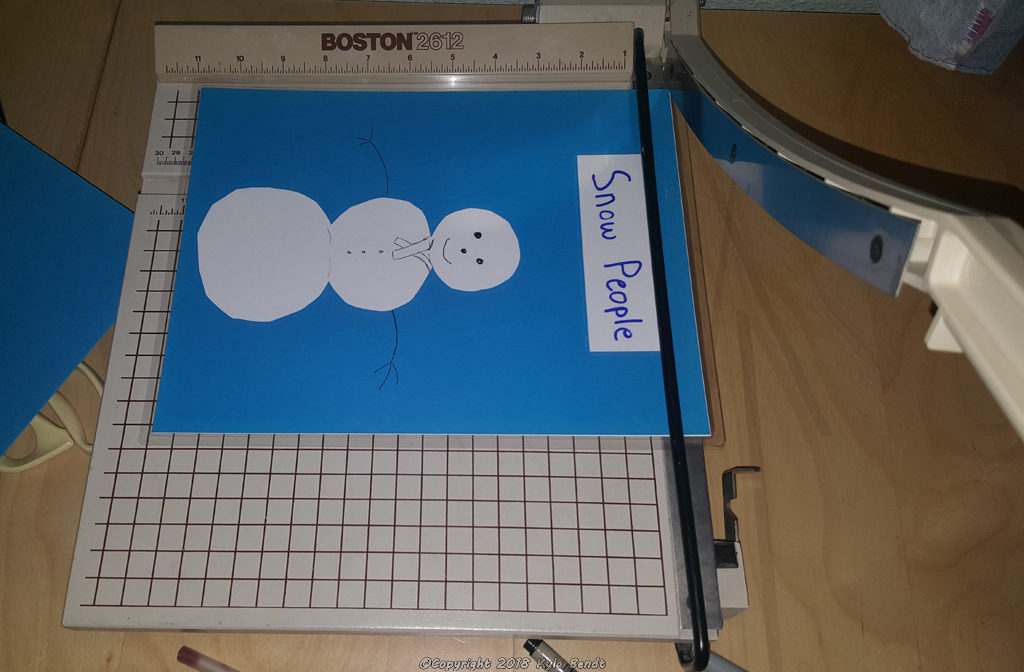
Then the very top edge gets cut off. A paper cutter is the perfect tool for this, but of course is not necessary.
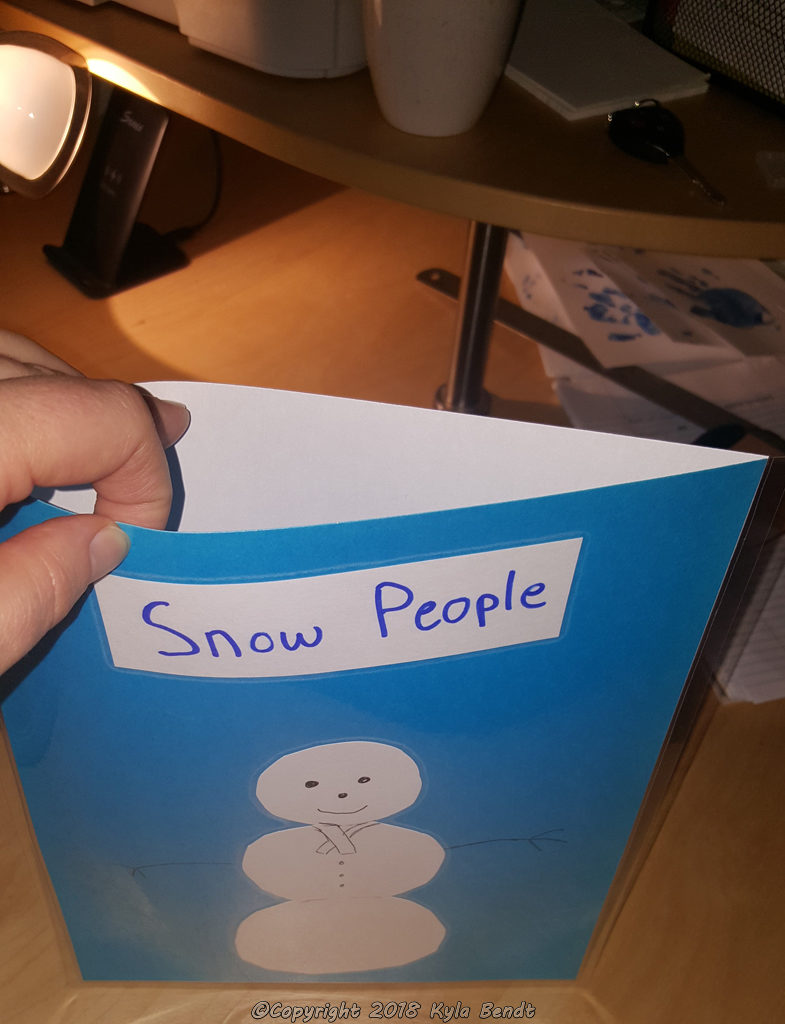
All done. 🙂