
Recently, I have made some cool laminated picture magnets and I wanted to share my process. You don’t actually need a laminator for these, although it is nice to have (more on that in a minute). It was really fun to spend some time doing a creative, hands-on sort of craft. I do so much on the computer, but there is nothing like the feel of making something ‘real’.
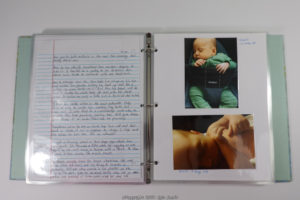
These turned out amazing and now I have nice little gifts for family members. Plus I have a few for me. It’s great knowing that I can put these pictures of baby B on the fridge without worrying about splatters or other messes. They should last pretty much forever.
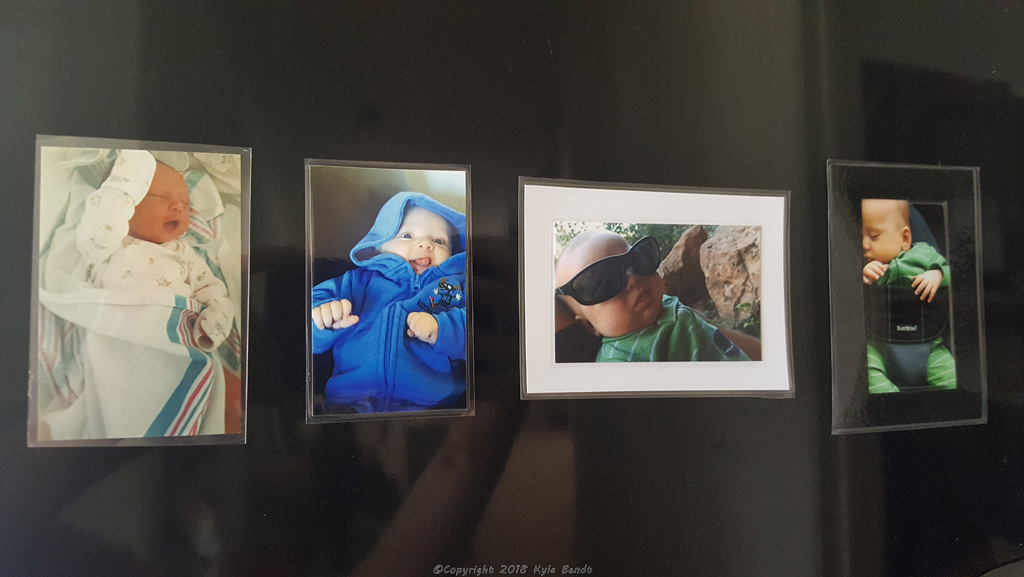
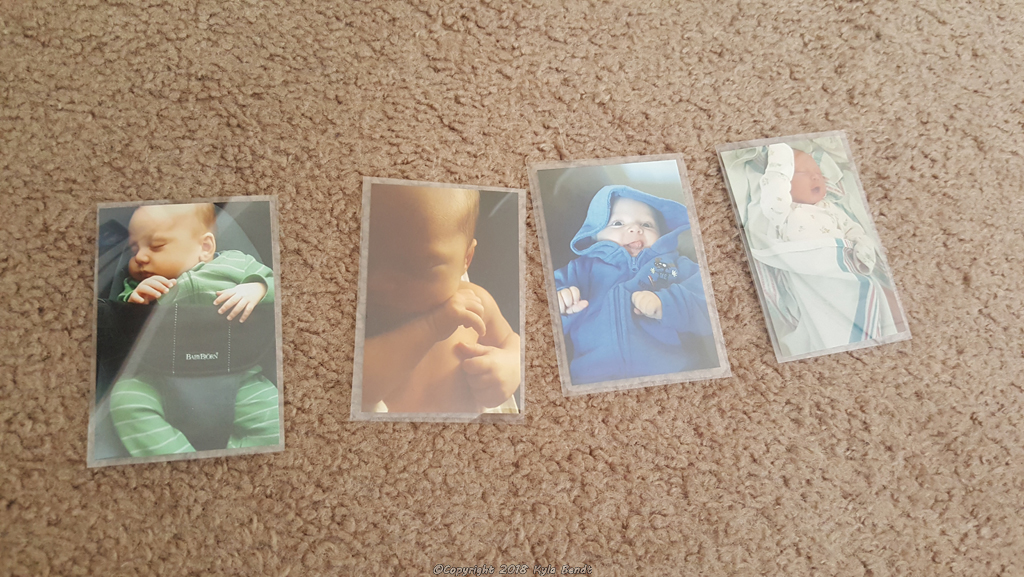
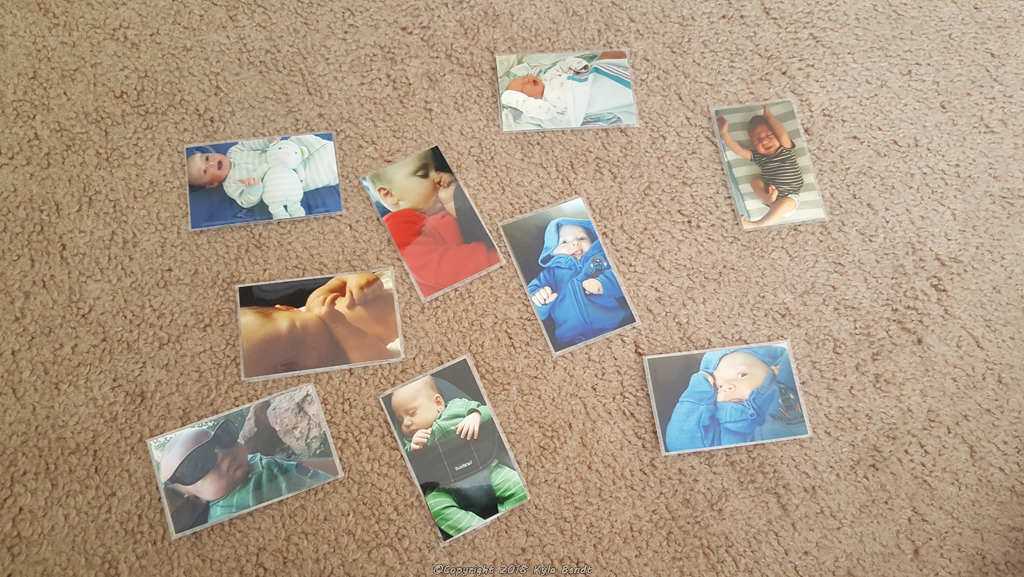
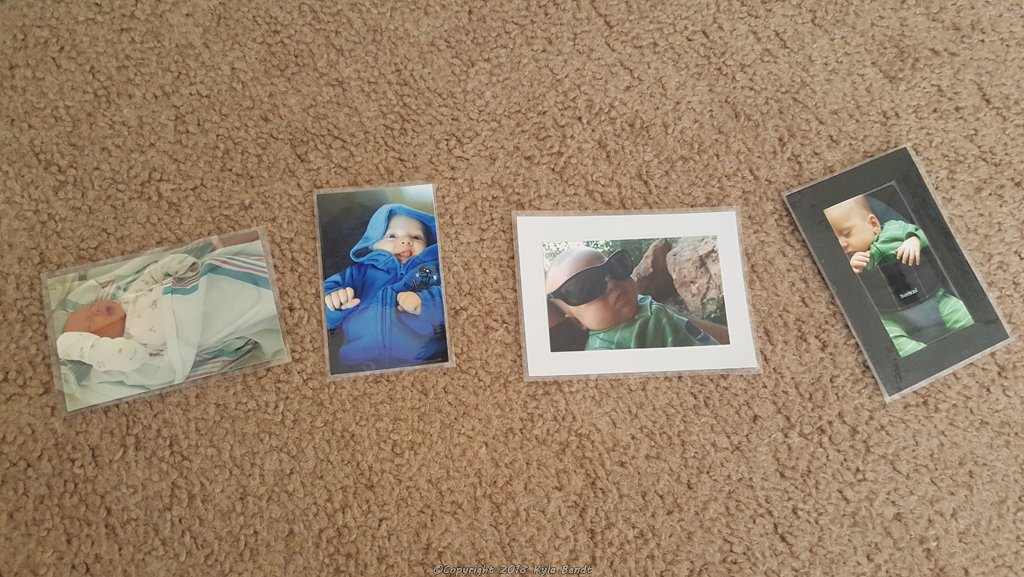
I made four different types: ones in self-laminating pouches (no laminator needed), basic ones, ones with white borders that are really just from the magnet under the photos and fancier ones with black borders.
Supplies:*
- A laminator OR self-laminating pouches (available at Walmart, Amazon, etc.)
- Photos
- A paper cutter is super nice, but not necessary
- An exacto knife and construction paper for borders around the photos (optional if borders are wanted)
- Magnet sheets (The link goes to the same ones I used. They worked
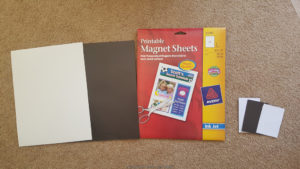 great, but I did wish the magnets were a little stronger. Since they’re made to go through a printer, they’re super thin and thus not very strong. This does mean that they go through the laminator really well though.)

Type 1: Self-laminating pouches
The first set that I made I used some self-laminating pouches that I had around. They turned out cool and I wanted to make more so I went looking on Amazon for more of the self-laminating pouches. They’re a bit expensive and real laminators are fairly cheap with much cheaper laminating sheets that go with them. So I ended up buying a real laminator.
That said, if one just wanted to make a couple, the self-laminating pouches do work pretty well. All I did was cut the magnet sheets to squares slightly smaller than the photos and then follow the instructions for the pouches.
Basically, the self-laminating pouches are just a clear plastic front with a sticky back. You remove the paper backing from the back and then press it down to seal the pouch.
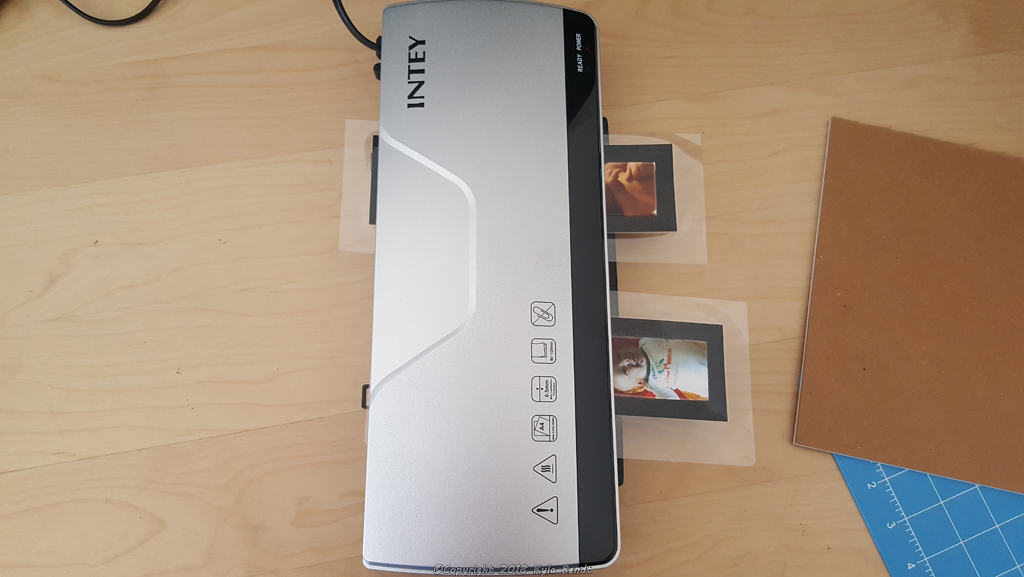
Type 2: Using a real laminator
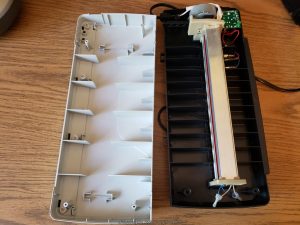
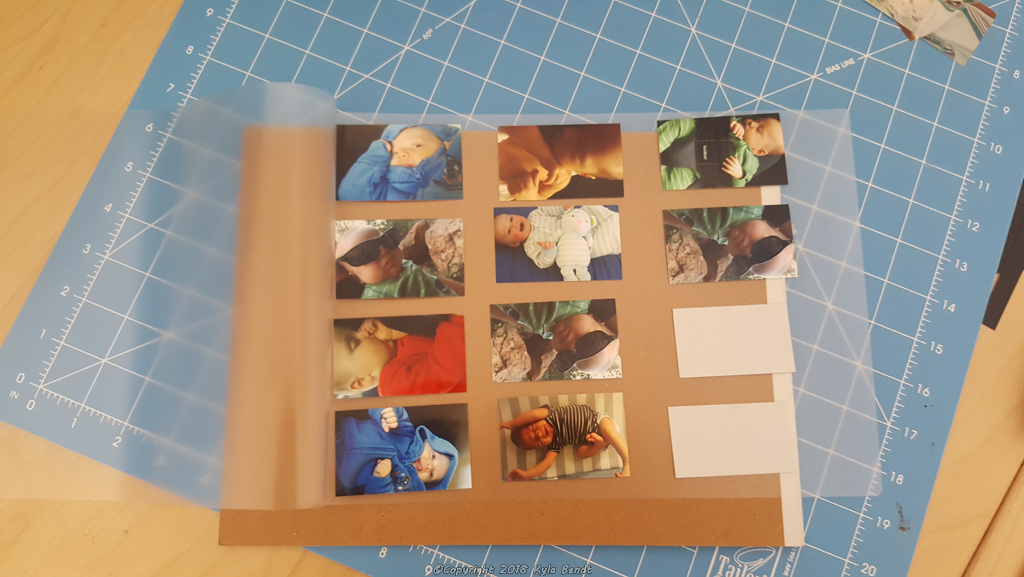 The next type I tried was using my new laminator. I cut the magnets with my paper cutter to be slightly smaller than the pictures and then just put the pictures on top. I used a sturdy cardboard piece to lie it on so I could feed the sheet into the laminator without the photos sliding around.
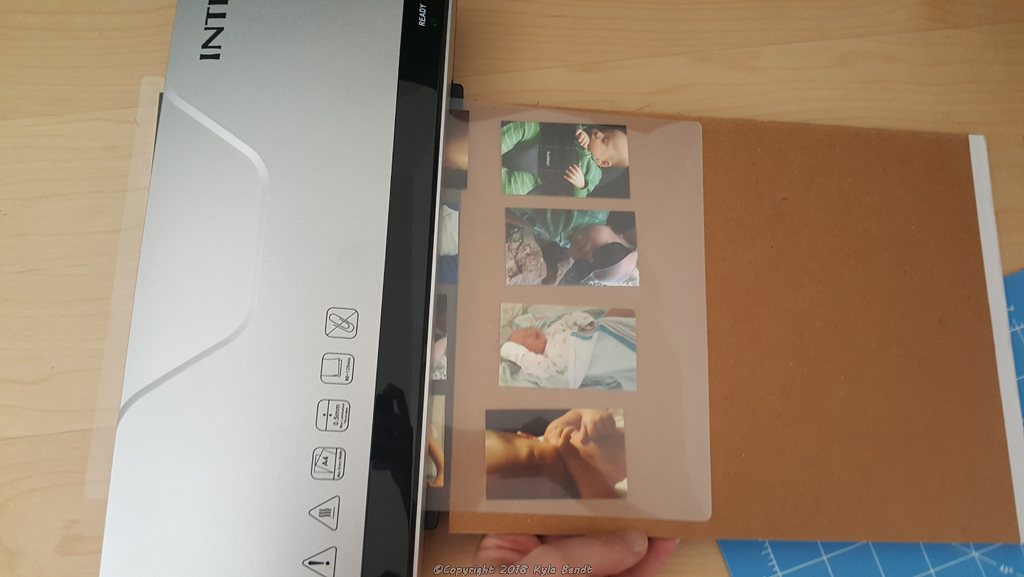
Since the magnets are thicker than a standard sheet of paper, sometimes the edges don’t seal quite as closely as I would have liked. I found that running them through a couple of times in different directions helped with that.
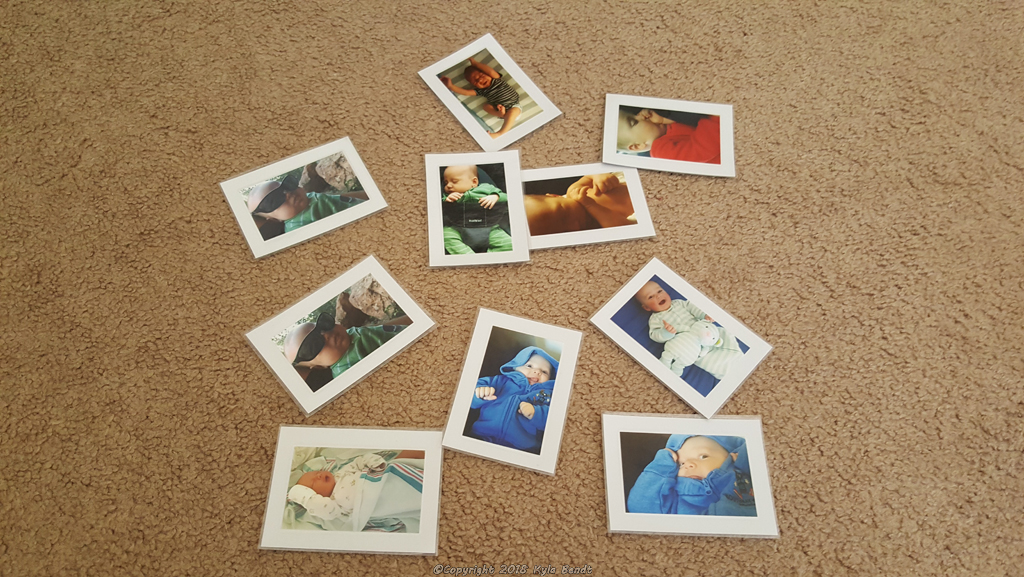
Type 3: White borders
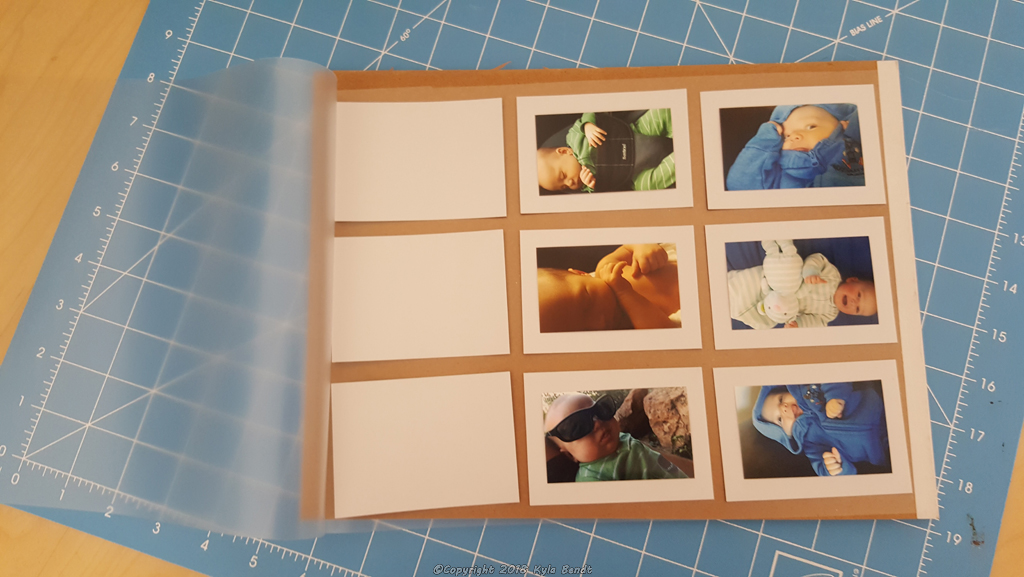 The white borders are pretty easy to make. I just cut the magnets out to be larger than the photos and centered the photos on the magnet pieces. This does mean being very careful that the photos are centered and don’t move while going into the laminator.
It would also be possible to write things on the white borders- names, dates, et cetera. I sort of wish that I had found a way to incorporate B’s name, age and the date of the pictures on each one.
Type 4: Black borders
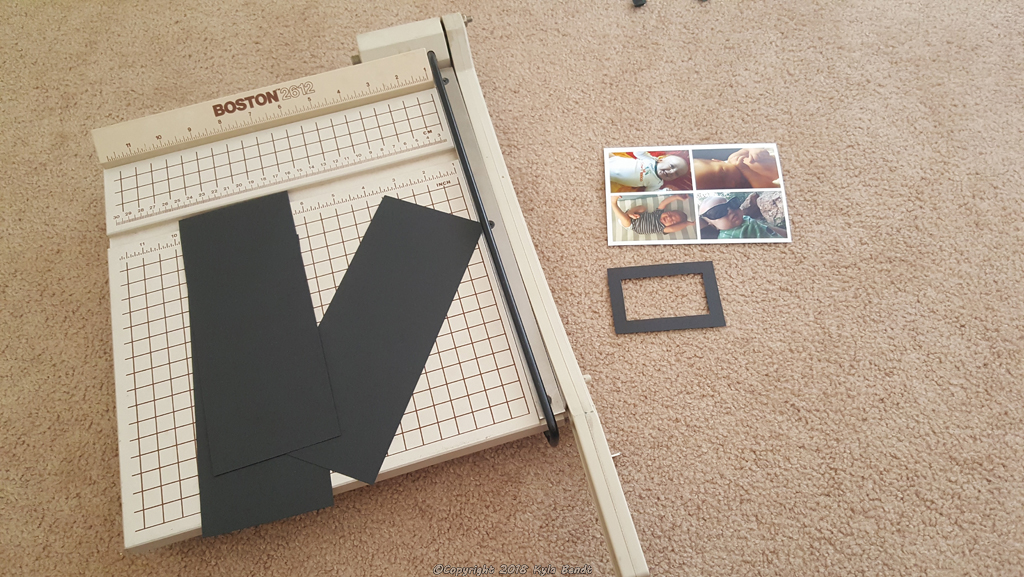
The last type I made had black borders. I used the paper cutter to cut out the squares of construction paper. I then used a pencil and a stencil that I made to draw the inside whole to cut out with an exacto knife.
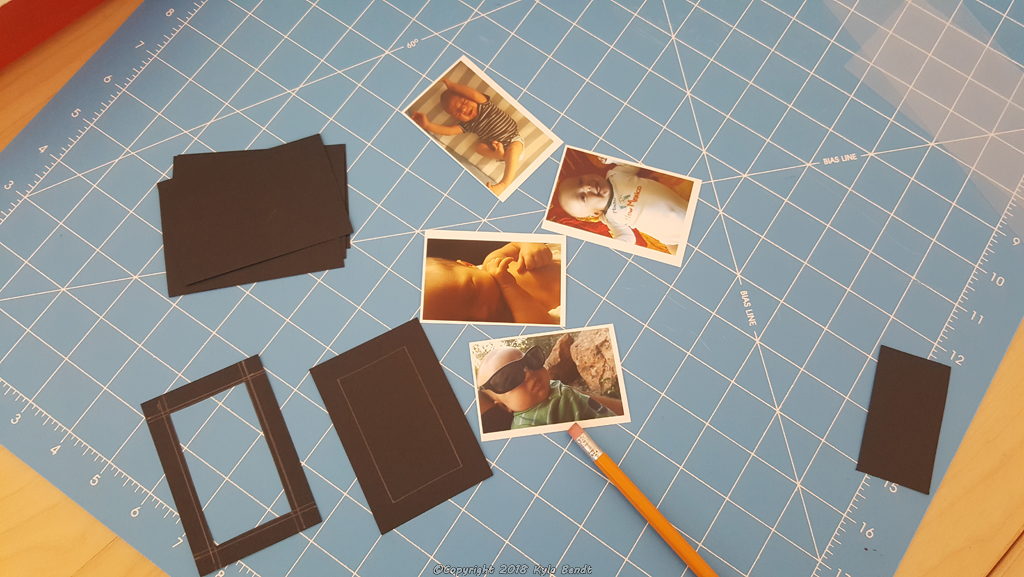
The photos I had came on sheets of four with a little extra white border around them, so on these ones, I left some of that extra border. It was covered up by the black ‘frame’ anyway, but gave me just a little extra to make positioning everything easier.
 I then layered stacked the magnets, photos and black borders before sending them through the laminator.
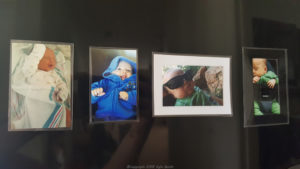
I love how these turned out! Here’s a picture of a couple of them on the side of the filing cabinet in my office. 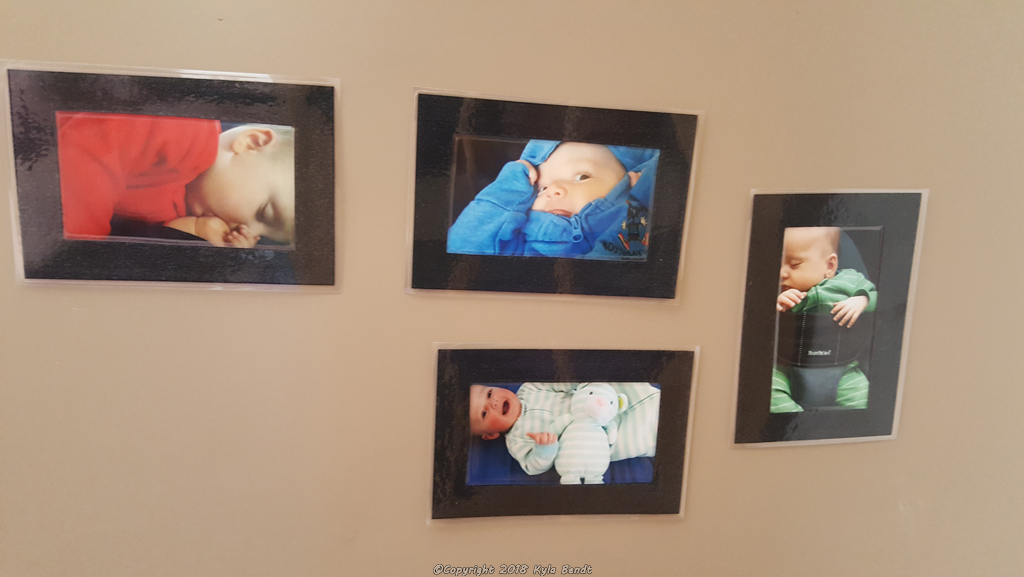
Here’s another picture of all four types.
It was a really satisfying project. I haven’t yet figure out what my favorite style is. I don’t know which ones I’ll be keeping and which I’ll give away.
The laminator has been an amazing thing to have! It has sparked lots of creative thoughts and I’ve used it for some other projects.
Read my post on cool and unique laminator projects.
Any ideas for cool laminator projects? Let me know in the comments.
*Links are Amazon affiliate links. That means they’ll give me a few cents if you click through and buy something. Of course, nobody ever actually does click through my links and buy things, so I’m really not putting these on here for the sake of advertising. I’m just sharing the stuff I used for this project.
One Response
Very valuable information, what you have written is not on all blogs that I’ve come across.